

Homemade Tagliatelle Pasta
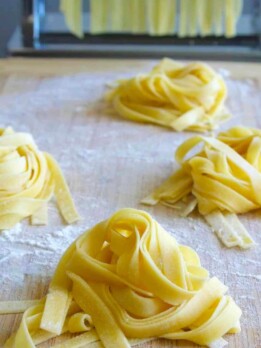
There is a distinct, silky bite to fresh pasta that you simply cannot get from a cardboard box and this Homemade Tagliatelle proves it. While rolling out your own dough might feel like a daunting Sunday project, it is actually incredibly forgiving. Plus, it is far easier than you think, I promise.
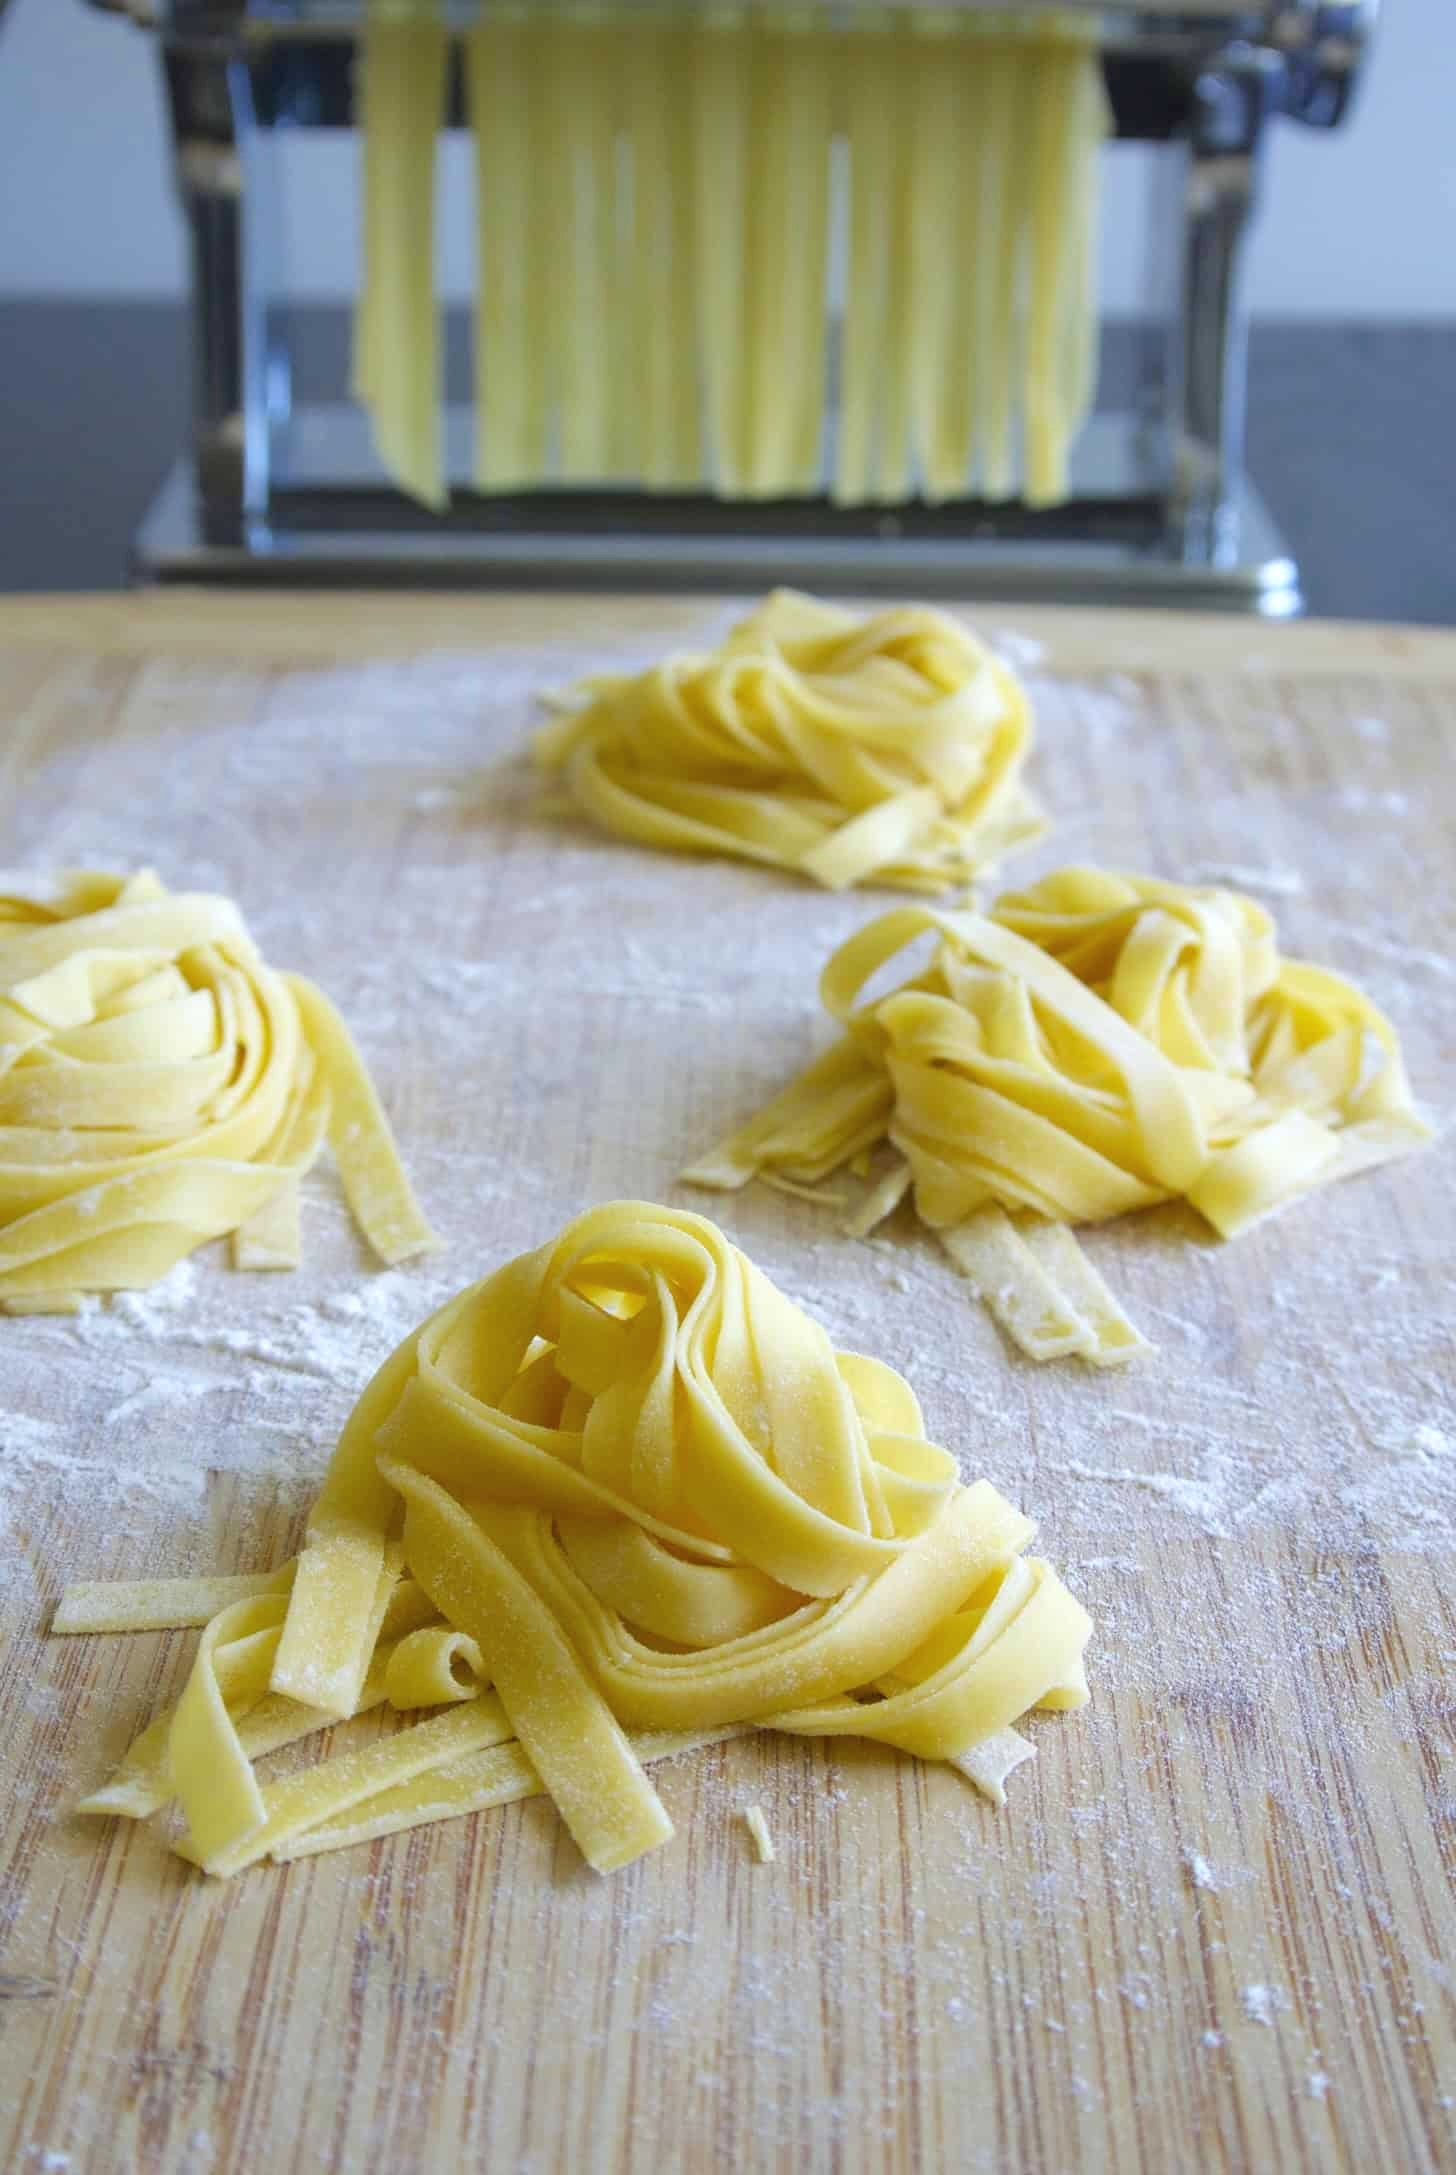
Table of Contents
- How to Pronounce Tagliatelle
- Why Tagliatelle
- Tagliatelle vs. Fettuccine: What’s the Difference?
- The Culinary Heart of Italy: Emilia-Romagna
- The Secret to the Perfect Pasta Dough Texture
- How to Make Homemade Tagliatelle Pasta
- How to Make Homemade Pasta Without a Pasta Maker
- The Best Sauces for Fresh Tagliatelle
- Storing and Freezing Fresh Pasta
How to Pronounce Tagliatelle
If you’ve been staring at the word and wondering how to say it, you aren’t alone! It’s pronounced tah-lyah-TELL-eh.
The secret is to ignore the “g” – in Italian, that “gli” blends together into a soft “y” sound.
Why Tagliatelle
- The Texture: Wide enough to catch heavy sauces, but delicate enough to not feel heavy.
- No Fancy Tools Needed: You don’t even need a pasta machine; a rolling pin and a sharp knife work beautifully.
- The Taste: Rich, egg-forward and infinitely better than dried.
Tagliatelle vs. Fettuccine: What’s the Difference?
At first glance, these long ribbons look identical, but tradition dictates how they are used in the kitchen:
- Fettuccine: These ribbons are typically cut a bit wider and thicker, making them sturdy enough to carry heavy, creamy sauces like a rich Alfredo.
- Tagliatelle: A more delicate, thinner ribbon. In Italy, this is the classic partner for a slow-simmered Ragù alla Bolognese. The texture of the fresh egg dough grips the meat sauce perfectly.
The Culinary Heart of Italy: Emilia-Romagna
Mastering the art of Italian cooking starts with a single, foundational skill: a foolproof fresh egg pasta dough. Once you have that down, you hold the key to a world of shapes, from delicate spaghetti to wide lasagne sheets.
But if you want to experience the true soul of Italian comfort food, fresh tagliatelle stands above the rest.
The Foodie Pilgrimage to Bologna
My favorite shape to roll out is fresh tagliatelle, a noodle deeply rooted in Italy’s ultimate foodie destination: Bologna in the Emilia-Romagna region. If you are passionate about world-class ingredients, this is your pilgrimage site. It is the birthplace of legendary staples like Prosciutto di Parma, authentic aged balsamic vinegar from Modena, and real-deal Parmigiano Reggiano.
From Stuffed Pasta to Slow-Cooked Comfort
But the culinary brilliance of this region doesn’t stop at the cheese board. Emilia-Romagna is a paradise for stuffed pasta lovers, giving us delicate ravioli, plump cappelacci (often stuffed with sweet pumpkin), and the legendary, intricately folded tortellini. To tie it all together, the region is also home to Friggione – a deeply savory, slow-cooked onion and tomato condiment that represents Italian comfortMy favorite shape to roll out is fresh tagliatelle, a noodle deeply rooted in Italy’s ultimate foodie destination: Bologna in the Emilia-Romagna region. If you are passionate about world-class ingredients, this is your pilgrimage site. It is the birthplace of legendary staples like Prosciutto di Parma, authentic aged balsamic vinegar from Modena, and real-deal Parmigiano Reggiano.
The Secret to the Perfect Pasta Dough Texture
Cooking is a continuous learning process, and every batch of dough teaches you something new. While experimenting with homemade tortellini recently, I discovered a game-changing tweak to the classic flour-and-egg formula.
By adding just a splash of olive oil and a touch of water to the dough, you get a much softer, more pliable texture. It rolls out effortlessly and yields a beautifully tender bite after boiling.
How to Make Homemade Tagliatelle Pasta
There is something incredibly therapeutic about making fresh pasta from scratch. Forget the fancy modern appliances – the most effective way to craft authentic tagliatelle is the centuries-old Italian method. All you need is a clean work surface, a fork, and a little patience.
Step 1: The Countertop Well
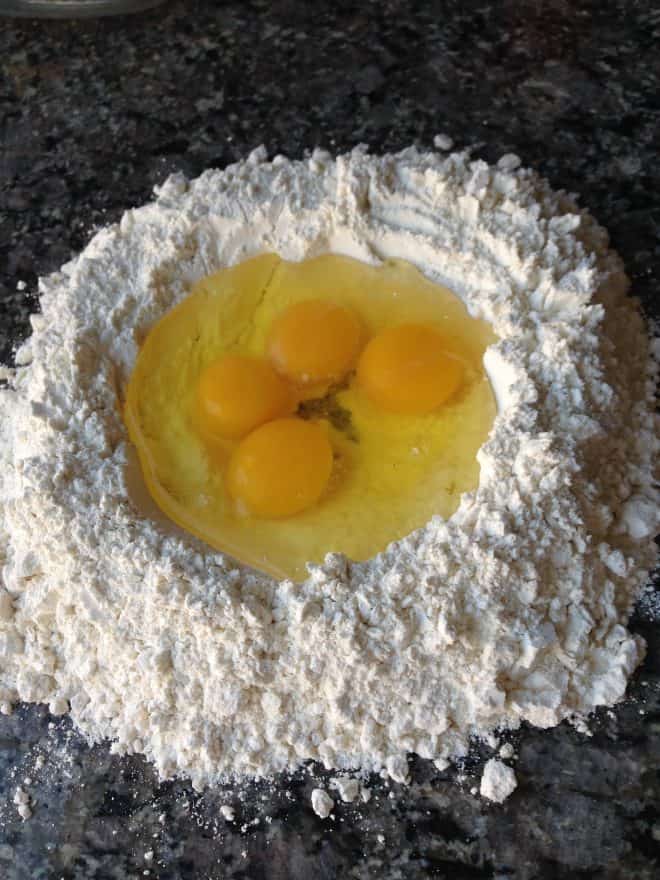
Start by dumping your flour onto your work surface and creating a wide well in the center, like a volcano. Crack your eggs into the center, followed by the salt, oil, and a splash of water.
Using a fork, gently whisk the wet ingredients together, gradually drawing in flour from the inner walls of the well. Keep mixing until a shaggy dough begins to form.
Chef’s Tip: Don’t force all the flour into the dough if it doesn’t want it. Only use enough for the mixture to come together into a workable ball – it’s completely normal to have a little flour left behind on the board.
Step 2: The 10-Minute Workout (Kneading)
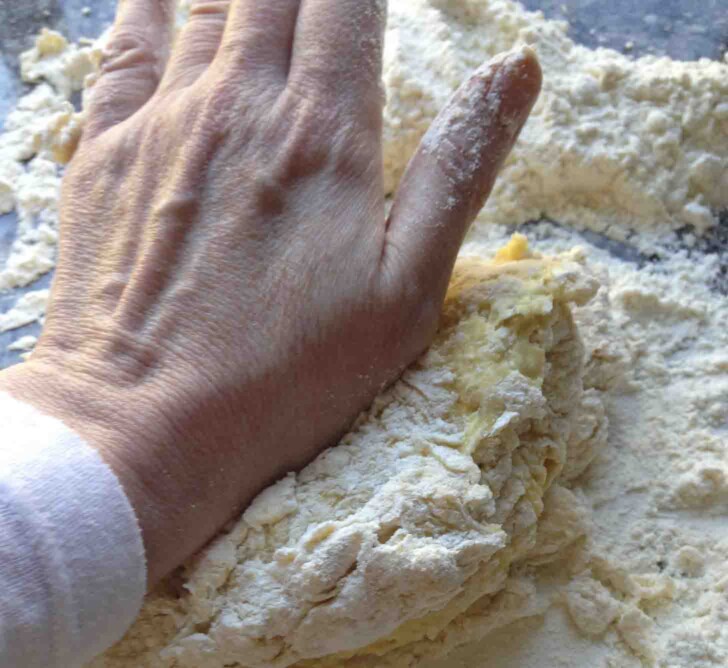
Kneading is where the magic happens. Put your weight into it and stretch, fold, and press the dough for about 10 minutes. It is quite a workout, but you will be rewarded with a beautiful, satin-smooth dough.
Once smooth, wrap the dough tight and let it rest at room temperature for 30 minutes to relax the gluten.
Step 3: Rolling the Dough Using a Pasta Machine
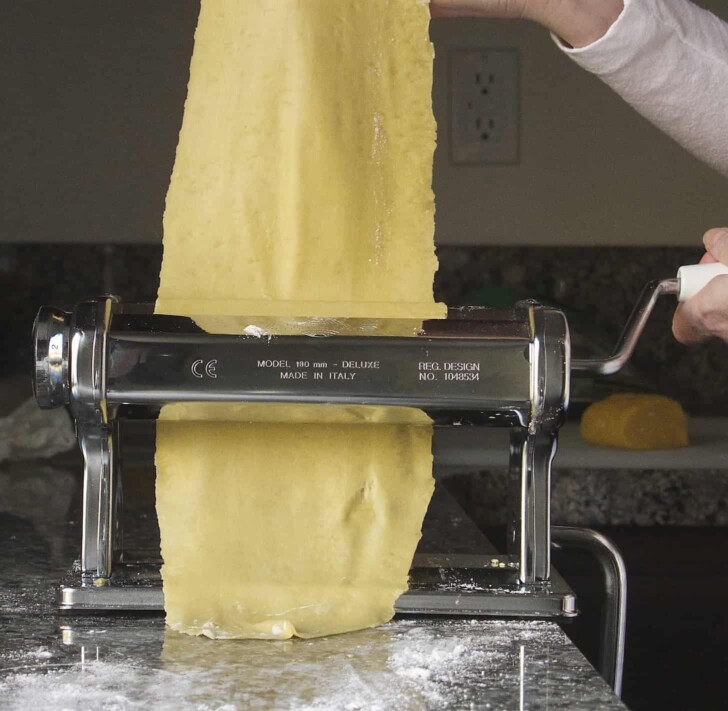
If you have a hand-crank machine, divide your dough into manageable portions. Flatten one piece into a small rectangle and run it through the widest setting (usually #1). Once it passes through, dust it lightly with flour, fold both ends into the middle like a letter, and run it through setting #1 again. Repeat this folding process two more times. This builds structure.
Move the dial to setting #2 and run it through (no more folding or floured dustings needed). Continue passing the sheet through, clicking the dial down one notch at a time, until you reach your desired thinness.
Step 4: Cutting Your Tagliatelle
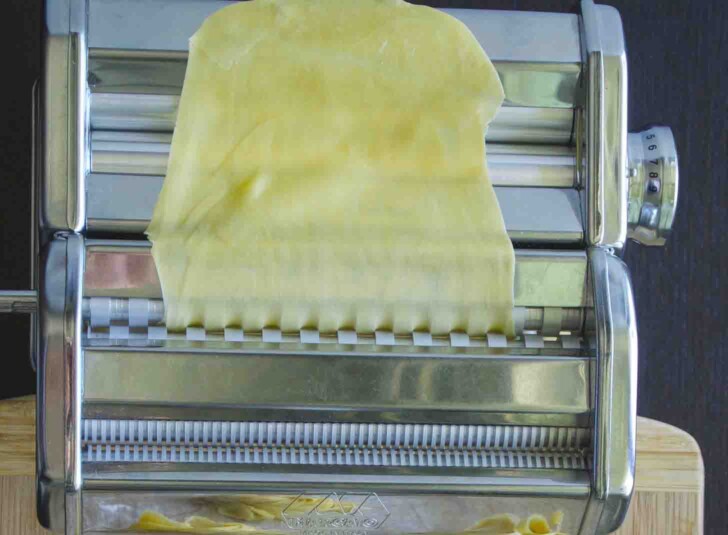
If you used a machine, your pasta sheets will be quite long. Trim them down to about 12-inch lengths, then run them through the wide-cutter attachment of your machine.
How to Make Homemade Pasta Without a Pasta Maker
After the dough has rested, take a small portion and roll it out as thin as possible on a floured surface. Using a rolling pin, roll it into a rectangle roughly 6 inches (15 cm) wide by 12 inches (30 cm) long.
Take the short end closest to you and start to roll the dough upward—it will be more of a flat, loose roll than a tight cylinder.
Using a sharp knife, slice the log into noodles from right to left (or left to right if you’re left-handed). This slice determines the width of your pasta strands; for classic tagliatelle, cut them at least 3/16-inch (5 mm) wide, though the final thickness is entirely up to you.
The Best Sauces for Fresh Tagliatelle
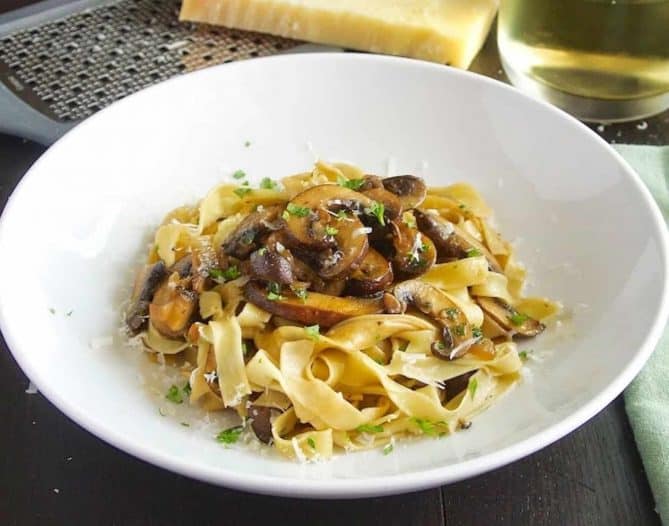
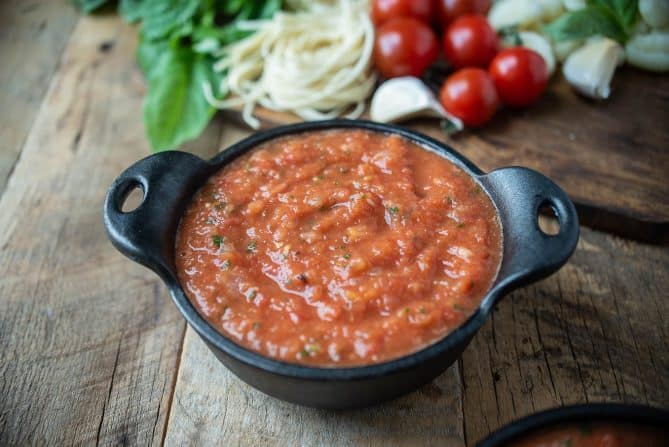
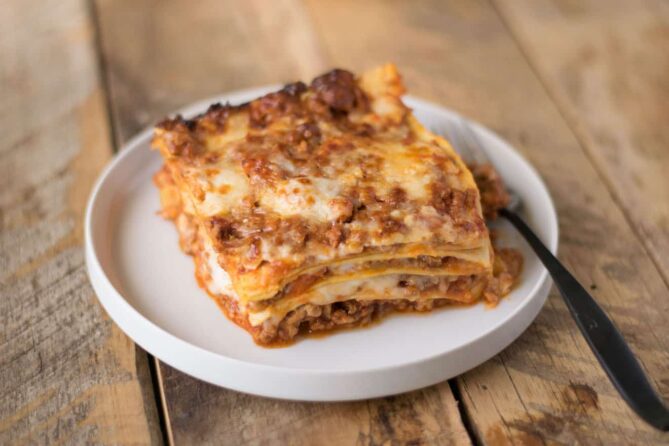
Any light sauce is delicious tossed with this fresh pasta. I love using these ribbons for a hearty Tagliatelle with Mushrooms. It also pairs beautifully with a Roasted Fresh Tomato Pasta Sauce .You can even use this exact dough recipe to skip the slicing step entirely and cut wide, flat sheets for a show-stopping Lasagna Bolognese. All shown above.
Storing and Freezing Fresh Pasta
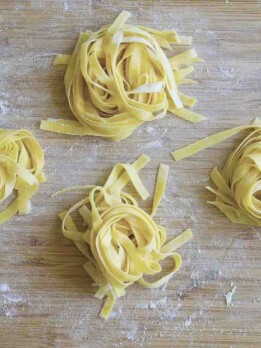
Fresh pasta is always best used right away, but it stores incredibly well. To save it for later, portion the pasta into individual nests, slide them into freezer bags, and freeze for up to 3 months.
When you’re ready for dinner, there is no need to thaw. Just drop the frozen pasta straight into a pot of boiling water and cook for a few minutes until the noodles float to the top.
Homemade Tagliatelle Pasta

Ingredients
- 3 cups (390 grams) all-purpose/plain flour
- 4 large eggs , room temperature
- 1 teaspoon salt
- 1 tablespoons olive oil
- 2 teaspoons water
Instructions
Form the dough:
- On a clean work surface or in a large bowl, mound your flour and create a wide well in the center. Add the eggs, salt, olive oil, and water into the well. Using a fork, gently beat the eggs and begin incorporating flour from the inner rim of the mound. Use your other hand to cup the outside of the flour wall, keeping the structure intact so the liquid doesn’t escape.
Knead:
- Once the liquid is absorbed and a shaggy dough begins to form, switch to your hands. Knead the dough using the palms of your hands. Don’t force the dough to absorb every last bit of loose flour on the board; stop adding flour once the dough comes together and is no longer sticky. If it does take all the flour and still feels tacky, dust in a little more, one tablespoon at a time. Knead firmly for up to 10 minutes until the dough is smooth, soft, and elastic—this building of gluten is what makes the pasta nice and light.
Rest the Dough:
- Wrap the dough tightly in plastic wrap, ensuring no air can get in to dry it out. Let it rest on the counter for 30 minutes.
Choose Your Preferred Method:
Method 1: Using a Pasta Machine
- Prep: Cut the rested dough into quarters. Take one quarter and immediately re-wrap the remaining three so they stay moist. Shape your active piece into a rough rectangle with your hands.
- The First Roll: Set your pasta machine to its widest setting and run the dough through. Fold the dough in half and pass it through again on the same wide setting. Repeat this folding and rolling process two more times to laminate the dough.
- Roll It Thin: Turn the machine to the next narrowest setting and pass the dough through. Continue running the sheet through, decreasing the setting by one notch each time, until you reach the thinnest setting.
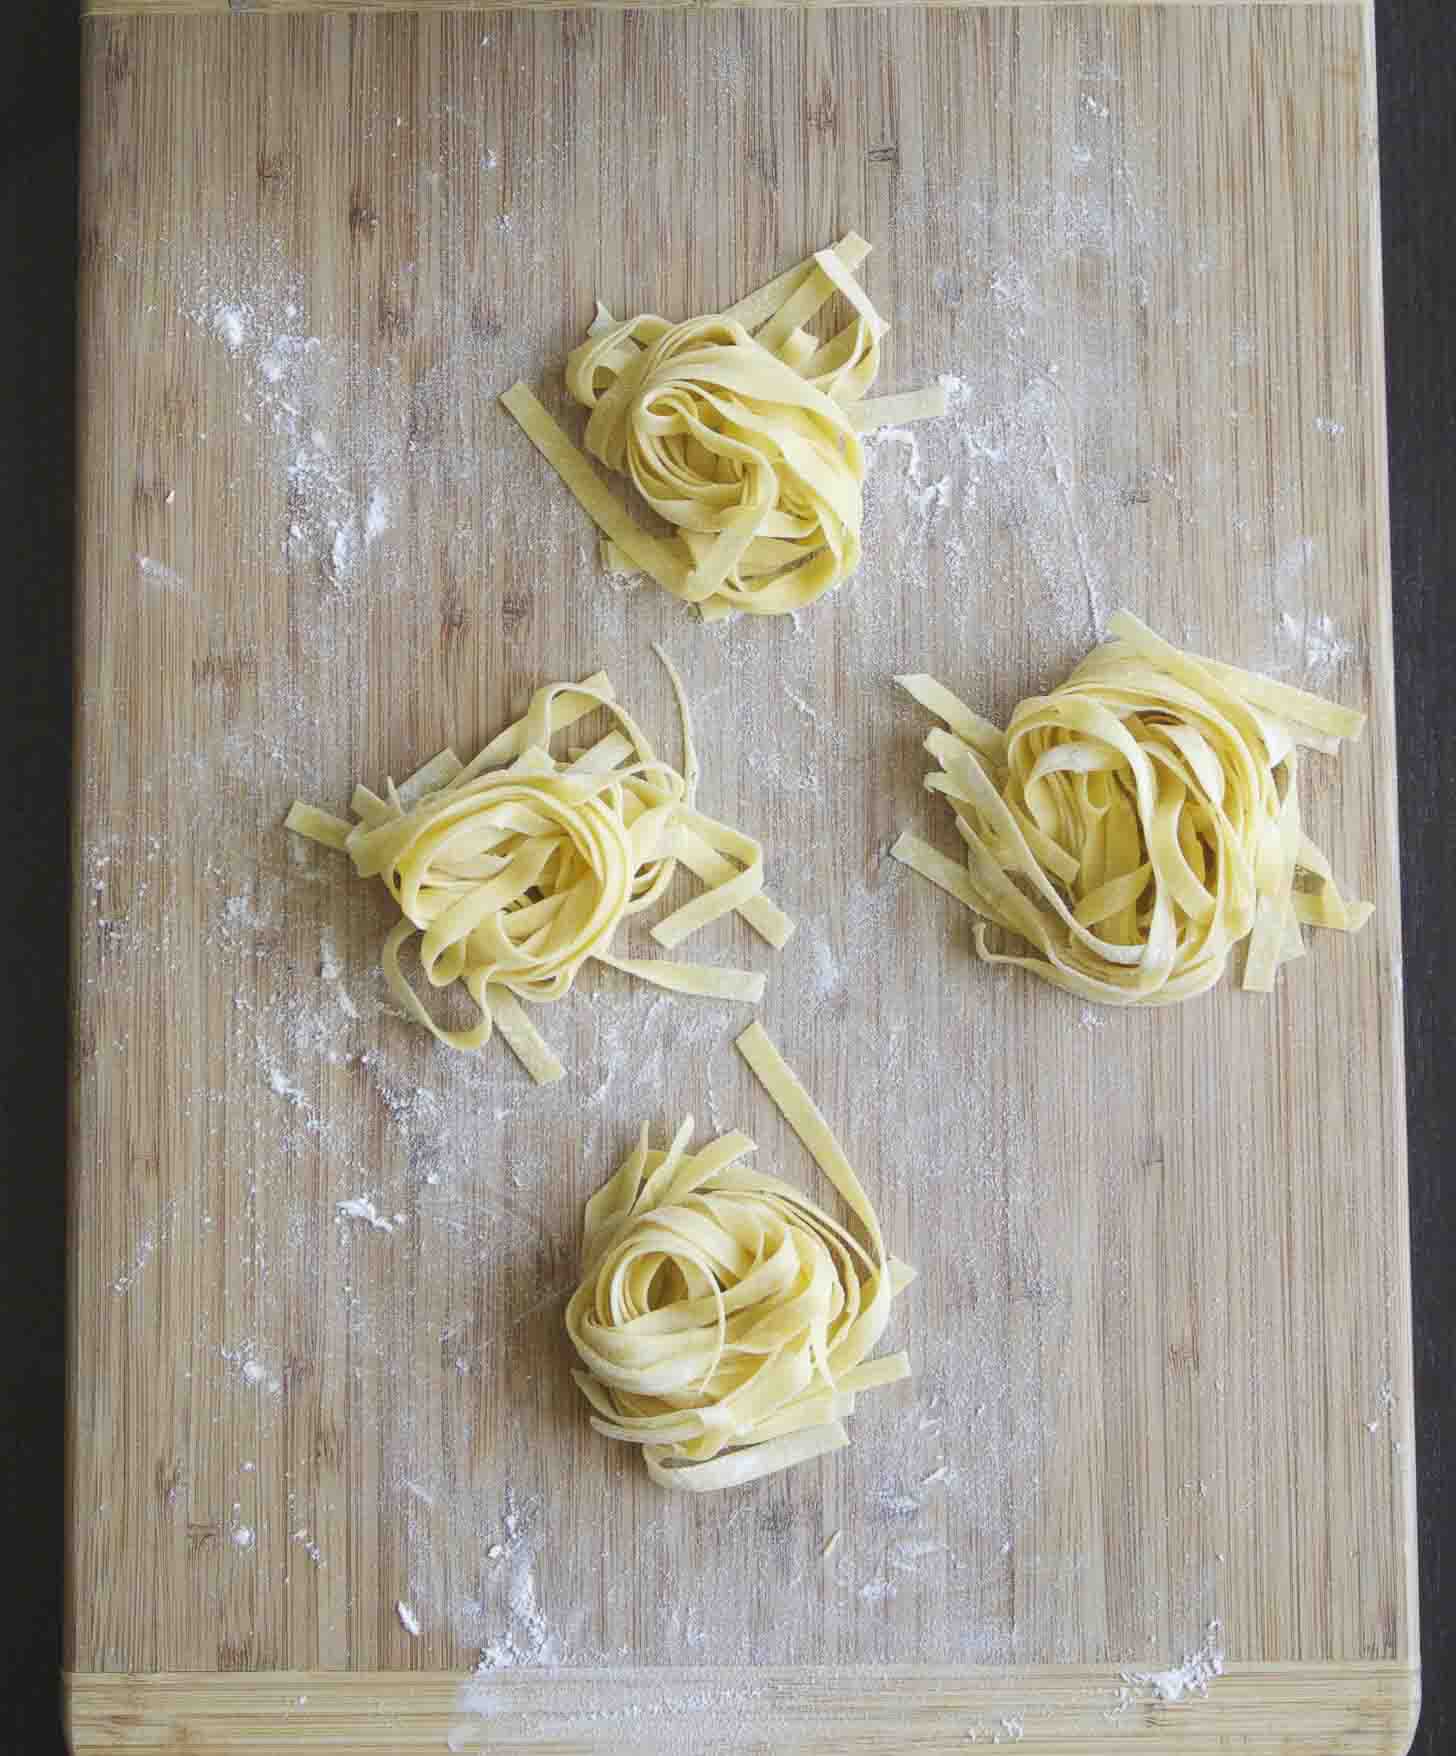
- Cut the Tagliatelle: Attach the tagliatelle cutter to your machine and run the pasta sheet through one last time. Gently drape the cut strands over your hand, transfer them to a floured board or baking sheet, and let them dry for 30 minutes. (A pasta drying rack works beautifully here, too!)
Method 2: Rolling by Hand (No Equipment Needed)
- Roll: Work with a small portion of dough at a time on a well-floured surface. Use a rolling pin to roll it out as thin as possible, aiming for a rectangle roughly 6×12 inches (15×30 cm).
- Fold: Generously dust the top of the dough with flour. Starting from the short end closest to you, loosely roll the dough up into a flat, wide cylinder.
- Slice: Using a sharp chef's knife, slice the log crosswise into ribbons. For traditional tagliatelle, cut them about 3/16-inch (5 mm) wide. Gently unravel the sliced ribbons with your fingers and toss with a little extra flour.
Storing Fresh Pasta:
- While fresh pasta is best cooked right away, you can easily save it for later using these two simple methods:
- In the Fridge (Short-Term): Form the fresh strands into loose, single-serving nests and toss them with a little extra flour or semolina to prevent sticking. Place them in a single layer inside an airtight container and refrigerate for up to 24 hours.
- In the Freezer (Long-Term): This is the best way to preserve that fresh-made quality! Portion the pasta into nests, place them on a baking sheet, and freeze for 15 minutes until firm. Transfer the frozen nests into individual freezer bags and store for up to 3 months.
How would I store this if I made it earlier in the day before company arrives for dinner?
Thank you for sharing this!!!
I’ve added extra instructions in the recipe for short term and long term storage. Enjoy.
This is my go-to recipe for homemade pasta. I also use it for my lasagna sheets, thank you.
I love to hear this, thanks Dave.
Thank you for the recipe and detailed explanation. I am a saffron producer, therefor my first tagliatelle was with saffron)) It turned delicious, very soft and silky pasta, thanks again.
You’re so welcome 🙂
I just made it for the first time and it turned out great! I made double the recipe and froze the rest.
Fantastic! Thank you for sharing.
OMG!!! After several failed attempts, using other recipes and wasting tons of flour and eggs, I stumbled on this recipe and created the best pasta ever!! Thanks so much…clear instruction …I didn’t change a thing…and holy cow!!
I’m so glad you chose my recipe and it worked for you. Thank you for the feedback.
I am making your Lasagna Bolognese recipe for Christmas. Is a single recipe of your homemade pasta enough for the lasagna or do I need more than one recipe’s worth?
I’m also making my Lasagna for Christmas and making the fresh pasta, so this is a great question. The lasagna requires 1 pound of lasagna sheets and my recipe (I believe) makes more than a pound (based on the amount of flour), so I’m guessing you, and I should be good to go 😂
I used 21/2 cups of all purpose and a half cup of semolina per my chefs instructions. I made this using bread flour also what difference to semolina makes I have no idea but it’s delicious no matter what thank you
Thank you for the tips
Amazing recipe! So easy, but perfect on flavor and texture. Made this twice. The first time I actually added spinach. Thank you so much for sharing!
I love hearing this, thank you. I love that addition of the spinach.
I made this yesterday with my new pasta machine and it turned out so well. I was so proud of my first attempt at homemade pasta, my kids were not impressed so I’m putting it here on the internet 🙂
Ha ha, congratulations! It’s not as daunting as it seems. I’m happy you chose to share the news with us 🙂
Hi. Love, love homemade pasta. I would like to make about a pound and a half of pasta for Easter Sunday. How much additional amounts of ingredients should I add. Thank you in advance.
Joanne
Hi Joanne, this recipe yields about 1 pound of pasta. What I would do is make 2 batches of this recipe because if you double the recipe you’ll find yourself with a giant ball of pasta and this way you’re not having to figure out half measurements. Any leftover pasta will freeze really well, there’s instructions in the recipe. I hope this helps and happy pasta making 🙂
Your pasta looks wonderful, but I am always confused by pictures that show nests of pasta for freezing, but the recipes always say lay out flat or drape pasta On a rack to dry. When it dries it gets hard right, so how do you get it coiled into a nest without it sticking together? Thank you.
Hi Patty, the key is to make sure the pasta is well coated in flour, that way it will not stick to itself. Thanks for stopping by.
So impressive! I love this, I’ve always wanted to venture into homemade pasta. Thank you for sharing and for the beautiful photos!
Thank you! 🙂
You make this look so easy, I have to try
I pinned this – pasta has been on my list for a very long time.
Great, I love making pasta 🙂
Looks delicious! I’ve been meaning to try making homemade pasta.
I never make enough fresh pasta! Yours looks perfect!
Thank you Christina 🙂
Janette, your pasta is absolutely gorgeous! I have never tried making pasta at home before but you make it look so easy 🙂 And I still can’t believe how few ingredients pasta requires. I am waiting for a lazy Saturday to try this out!
I was really excited to see your homemade pasta recipe. My father and I have made pasta together and while there is a little work to it……….nothing beats the flavor. I am holding a Jamie Oliver Food Revolution Day event in May where we will be teaching about 100 Girl Scouts to make their own pasta. It should be a lot of fun. Especially………..when we get to the eating part.
G’day! There is nothing like fresh pasta! Great photos!
Cheers! Joanne
I have never had homemade pasta before. I didn’t realize it was this easy to create. I’ll be trying this over the weekend.
Thank you Nicky 🙂
I love the smell and taste of new pasta!!! I have to admit that I get mesmerized when I see fresh pasta being rolled out. Your pasta and recipe look AMAZING. Do you suggest a red-based or cream-based sauce with this pasta?
Thank you Rini. Traditionally a bolognese is served with tagliatelle, but I’m going to be making it with mushrooms.
I got over being afraid to make pasta and glad I did. So easy to follow and detailed recipe
Christine you really do need to try it, even if it doesn’t work out the first time, it does get easier and it’s so gratifying when you get it right.
Nothing bets home made pasta! Wonderful recipe Janette 🙂 Stunning photography as well!
Thank you Nicole 🙂