British Chelsea Buns

Before the Swedish Cinnamon Roll (the one that everyone knows and loves today) there was the British Chelsea Bun. A wonderfully sticky, buttery and shiny square-round bun/roll, similar to the cinnamon roll, but these have dried fruit inside and just the right amount of warming spices. Just like mum (or granny) used to make.
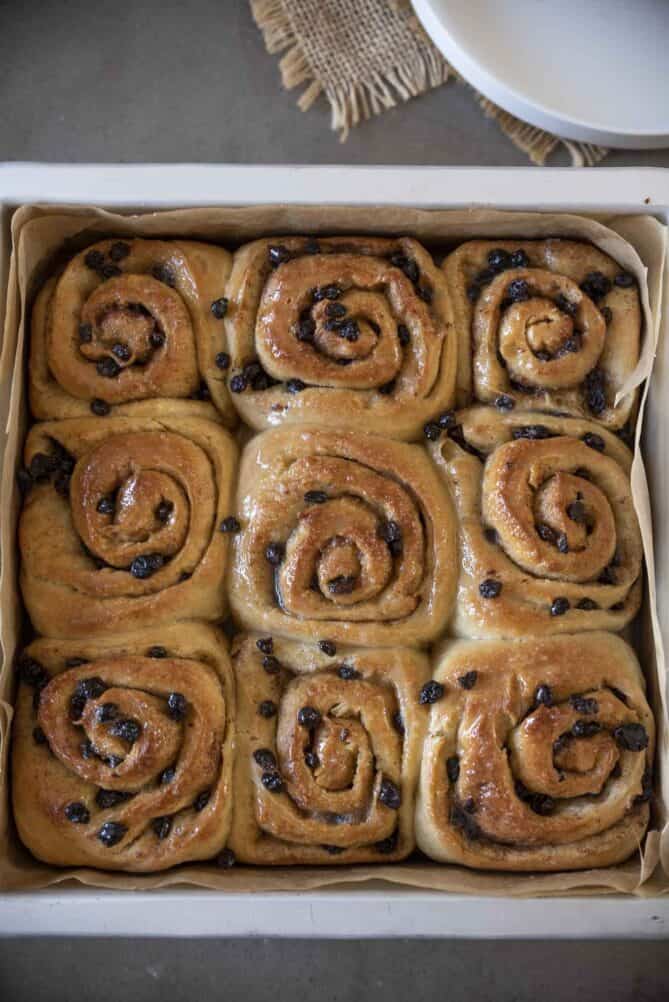
Table of contents
Although the British version came before the Swedish version, it was the Swedish version that won the contest and is more popular across the U.S.
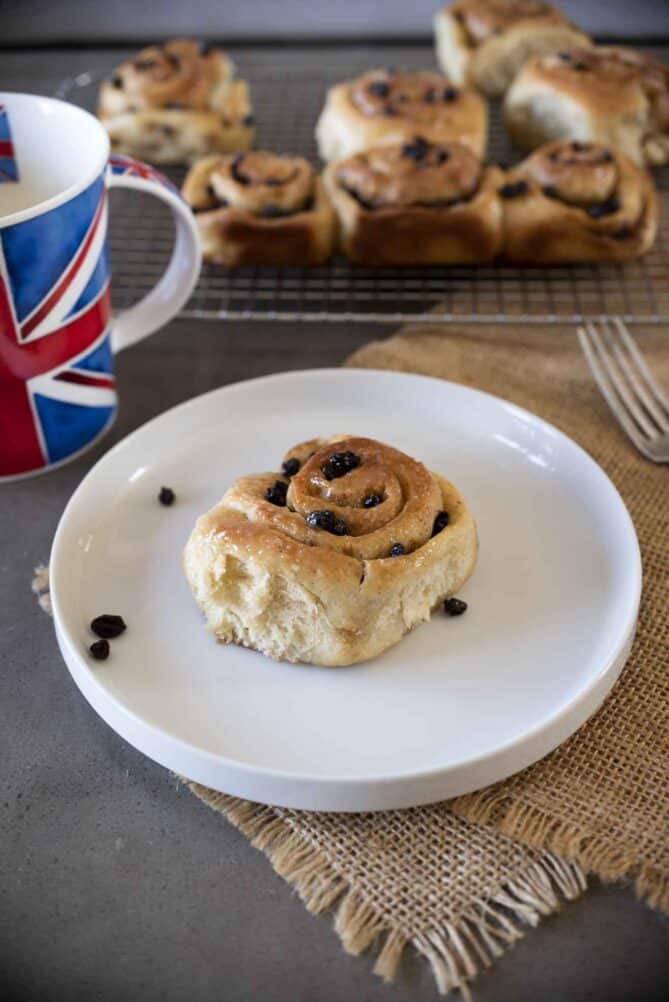
You’re probably thinking these look just like American cinnamon rolls. You’re absolutely right, but these Traditional Chelsea Buns have dried fruit inside, in this case currants. There is also a mix of spices and have a shiny glaze where the cinnamon buns have a white, sugary glaze and have no dried fruit.
Think of these as a cross between Traditional Hot Cross Buns and Cinnamon Rolls that you can eat as a snack or a sweet and tasty breakfast. They feature soft, yeast dough inside with lightly browned edges, which are nice and crispy.
Just to confuse things, Belgium decided to get in the act too by making their own version of Belgian buns that are filled with lemon curd, coated in a thick white glaze and topped with a cherry. These are decadently sweet.
Chelsea Buns History
The Chelsea Bun actually came first before anything. They were created around 1700, in the 18th century, at the Chelsea Bun House in London, which was a favorite of the royal family at the time. I sure wish it was still open, but it closed its doors in 1839!
Best Pan for Chelsea Buns
I use two 9 x 9-inch (23 x 23 cm) baking pans, this way they expand and bake very close together and help achieve their signature, sightly square shape. You can use a bigger pan, they will just be a little more round.
Chelsea Buns filling
The classic recipe called for just butter, dried fruit and brown sugar. You can elevate this by adding candied orange peel, orange zest or lemon. The dried fruits can be currants, raisins, sultanas. Almost any dried fruit, really.
Freezing Chelsea Buns
Yes, you can make them ahead and freeze them after baking. Wrap each one individually and reheat in the oven when ready to enjoy. To reheat from frozen, defrost, then wrap if foil and reheat at 300°F/150°C for 10 minutes or so until warmed through.
Big Batch Baking
This is a big batch of Chelsea Buns, this recipe yields 18. If you don’t want to bake 18 at once, you can bake 9 and freeze the rest of the buns. In my house, all 18 always go very quickly!
The Secret to the Perfect Roll: Texture, Tension, and Technique
They should be a little crispy on the outside and oh so soft on the inside. They should not be overly spiced and here are a few tips:
- Spread softened (not melted) butter on the inside which helps the currants stick
- Roll a nice, tight roll to keep the currants inside when they bake and expand, you want the roll to stay together.
- Cut the rolls all the same thickness for uniformity
To me, my favorite part of the buns are the ones on the outside edges because their sides rest against the baking pan and they get so crispy.

British Chelsea Buns
Video
Ingredients
For the pastry:
- 1 cup (236 ml) whole milk
- 3 tablespoons (40 grams) unsalted butter
- 2 ½ tablespoons granulated sugar
- 2 ¼ teaspoons (12 grams) instant dry yeast
- 3 ½ cups (456 grams) all-purpose/plain flour
- 1 teaspoon salt
- ¼ teaspoon ground cinnamon
- ¼ teaspoon ground nutmeg
- ⅛ teaspoon allspice
- 1 large egg room temperature, beaten
- 1 teaspoon oil
For the filling:
- 8 tablespoons (113 grams) unsalted butter, softened for spreading
- ¾ cup (100 grams) currants
- 8 tablespoons (80 grams) light or dark brown sugar
- ½ teaspoon ground cinnamon
- ½ teaspoon ground nutmeg
- ¼ teaspoon ground allspice
- 1 egg, whisked with a little milk
- 1 tablespoon milk
- 4 tablespoons granulated sugar
Instructions
Make the pastry:
- To a small saucepan add the milk, butter and sugar. Warm over medium heat just until the butter is melted. Remove the pan from the heat. Test the temperature of the milk (should be 100 – 110 °F/ 37°C – 43°C. Sprinkle in the yeast and allow to sit for 5 minutes.
- To a large mixing bowl add the flour, salt, cinnamon, nutmeg and allspice, stir to combine. Make a well in the center and add the foamed milk/yeast and egg. Use a fork to start mixing, when it starts to come together, switch to using your hands and form into a ball. Scraping the bowl to include all the flour until the bowl is clean.
- Lightly flour your surface and knead the dough until soft and smooth and springs back when you press with your finger about 5 minutes. If the dough is sticky, add a little flour.
- Lightly coat the bowl used to mix the dough with the 1 teaspoon oil and place the dough inside. Cover with a towel and place somewhere that has no draft like a microwave or oven that is turn off for 1 hour, until doubled in size.
- When the dough has risen, remove from the bowl onto a floured surface, roll into a 18 x 12-inch/45 x 30 cm) rectangle with the longest edge closest to you. You can trim with a knife to make it nice and straight. Make sure there’s enough flour underneath the dough to make it easier to roll and does not stick to the surface.
- Spread the butter even all over the surface, leaving a border at the edge furthest from you. Sprinkle evenly over the currants, brown sugar, cinnamon, allspice and nutmeg.
- Take the edge of the dough closest to you and start in the middle to roll tightly working out to the edge, then from the middle to the other edge. Keep rolling, make it tight as you go. Brush the border edge with water roll over and seal. You can see my technique in the attached video.
- Line 2 each, 9 x 9 x 2-inch/23 x 23 x 5 cm baking pans with parchment paper.Use a sharp knife to cut rolls 1-inch/2.5 cm thick.
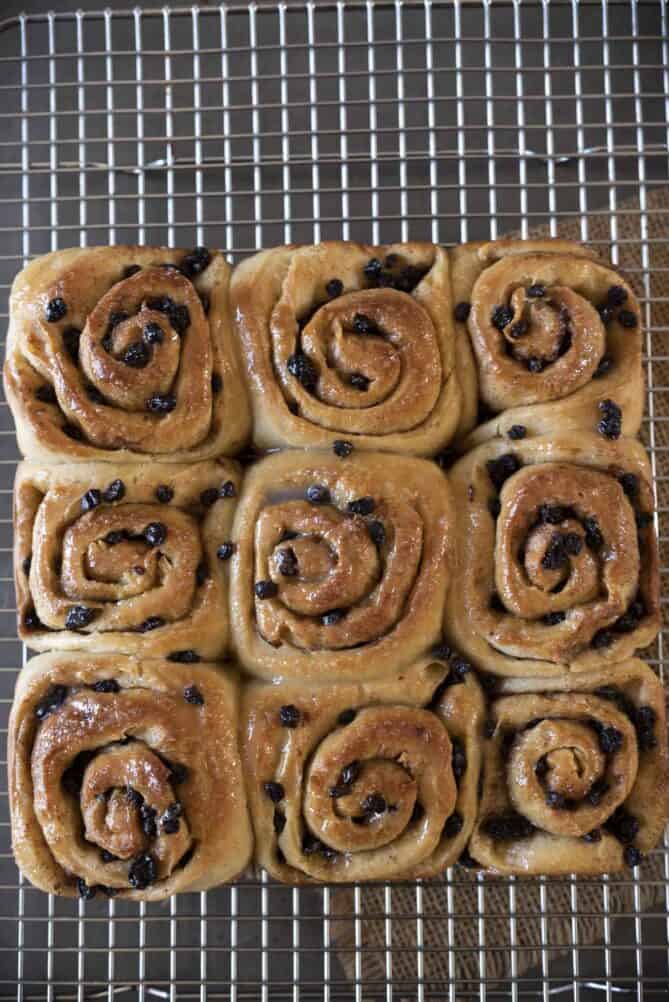
- Place the rolls, cut-side up into the pan (with ½-inch/1 cm space between). Cover and leave to rise for 30 minutes in a warm place until expanded. You want them just touching so when they bake they press against each other for the signature square/round look.
- Preheat oven to 375°F/190°C.
- When the rolls are risen, brush the tops with the egg/milk wash and bake for 15-20 minutes until browned (time will depend on your oven). Cover with foil if browning too quickly.
Make the glaze:
- Add the milk and sugar to a small saucepan over medium low heat, stir until the sugar is melted. Brush over the buns as soon as they come out of the oven.
- Allow to cool before eating.
I was recently in London and saw a video on Kensington & Chelsea on the flight over and the Chelsea Bun contest held at Partridge’s in Chelsea and I’ve been obsessed ever since. I was too busy to make it to Partridge’s, but saw your recipe and will be making these this weekend. Can’t wait to taste them as they look so authentic!
Thank you for sharing, I hope you enjoy them.
I always remember having my first Chelsea bun from Beetons on the King’s Road Chelsea in the 1970s. It was the best, unfortunately it’s no longer there. Can’t wait to try your recipe
I hope my recipe lives up to your expectations. Please email me if you have any questions. Enjoy.