

2-Ingredient Gingersnap Pie Crust
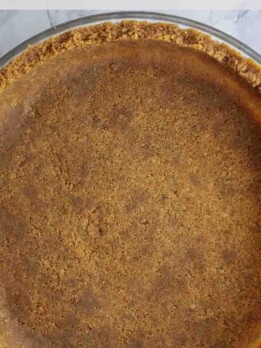
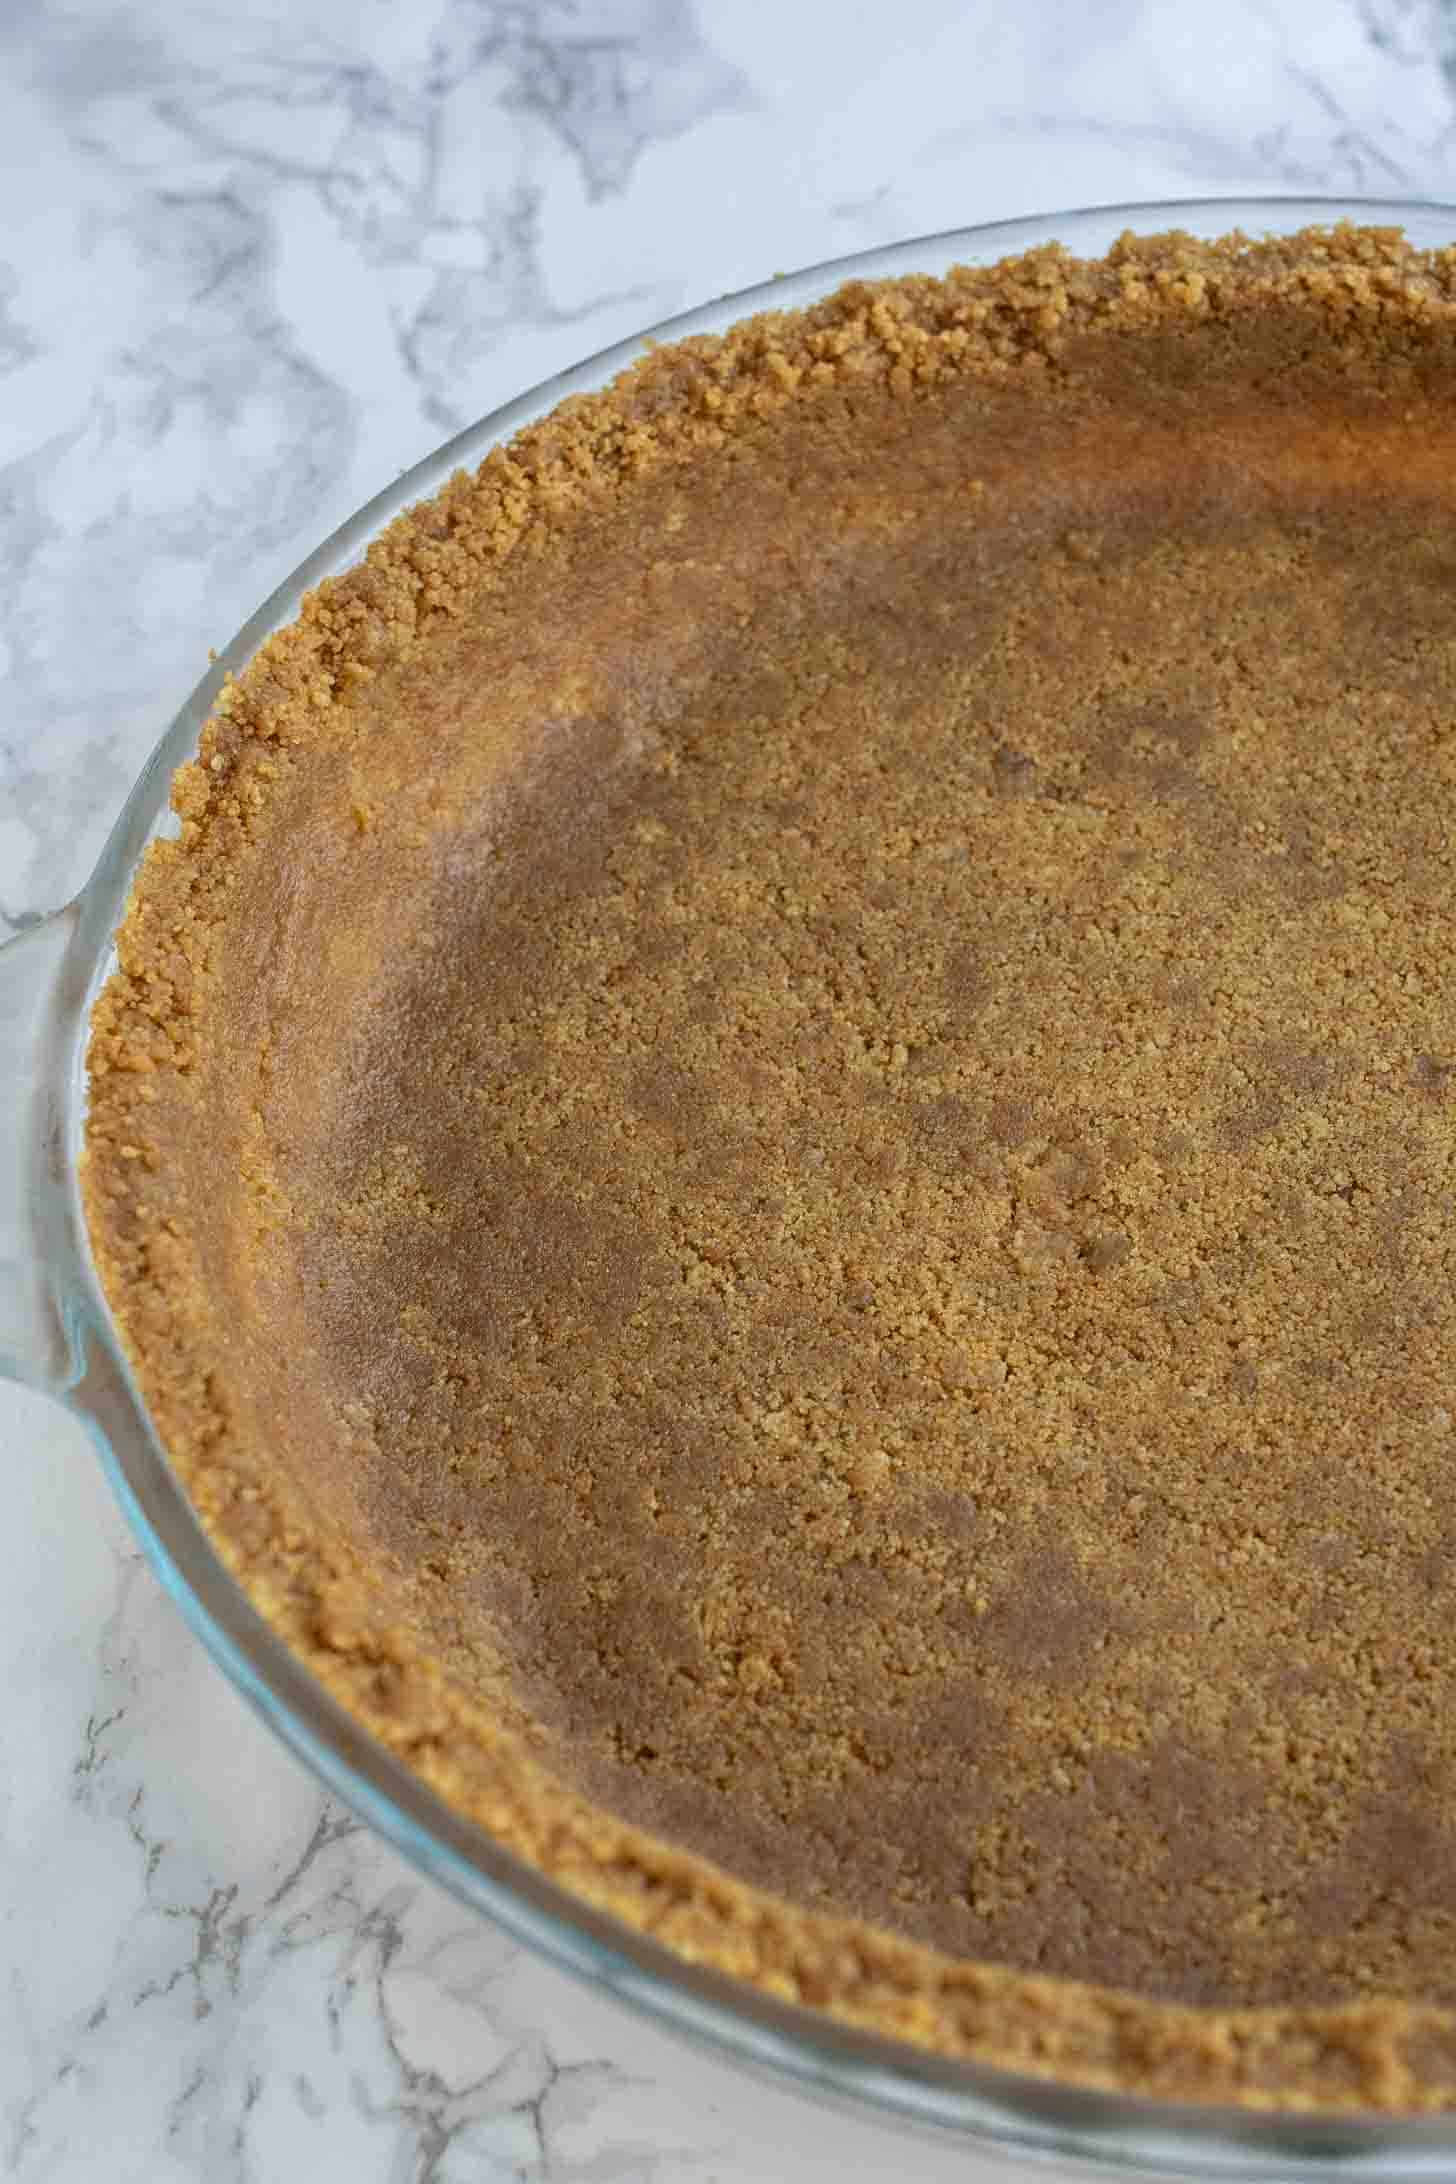
If you like a Graham Cracker pie crust, you will love my 2-Ingredient Gingersnap Pie Crust. Made with just gingersnaps (ginger nuts in the UK) and melted butter. This easy cookie crumb crust will instantly transport the flavor of your pies and tarts with buttery, spicy crunch. You can use your favorite store-bought, or take it to the next level with my Homemade Gingersnaps Recipe.
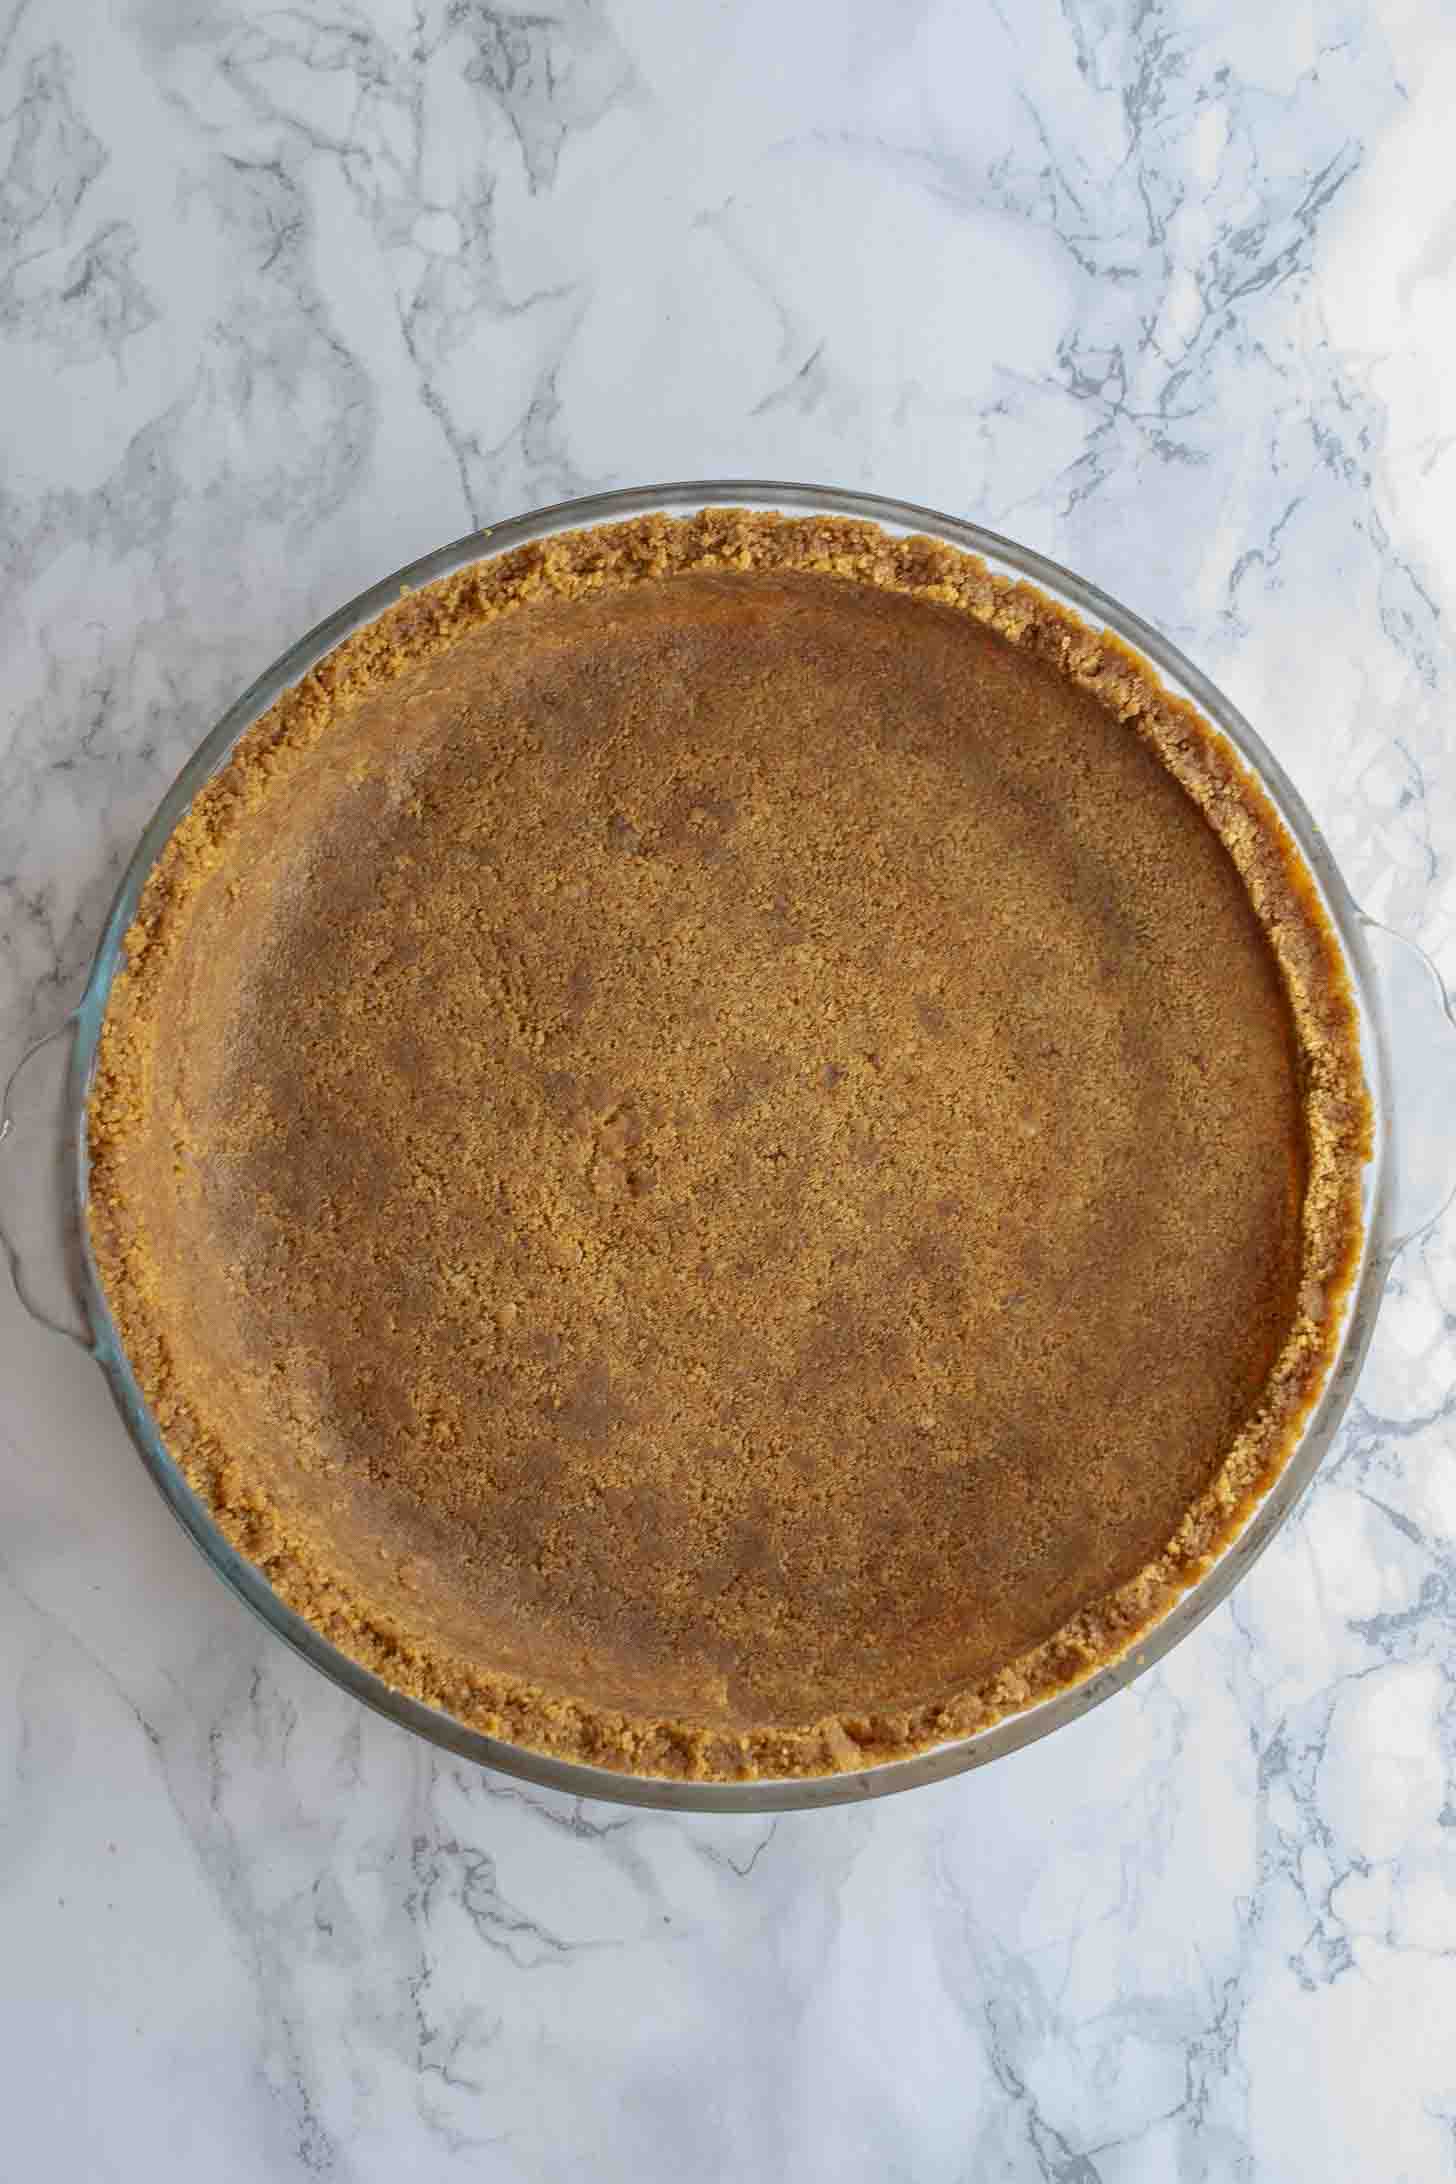
Table of Contents
Swapping a Plain Graham Cracker Crust for Ginger Snap
While a plain graham cracker crust is a classic, swapping it out for a gingersnap cookie crust instantly elevates your baking (and your tastebuds!). Gingersnap cookies carry a bold, nostalgic warmth from molasses, ginger, and cinnamon. When crushed and mixed with melted butter, they create a beautifully textured shell that balances sweet, rich, and tangy fillings much better than standard graham crumbs.
The Ultimate Flavor Pairings & Holiday Pie Uses
This versatile crust acts like a warm spice blanket and serves as the perfect foundation for a variety of delicious recipes. It pairs exceptionally well with heavy, creamy fillings, cozy fall fruits, or bright, acidic curds. Whether you are baking for a weekday treat or leveling up your Thanksgiving and Christmas dessert tables, here are the absolute best ways to use it:
- Holiday Favorites: This is the ultimate autumn and holiday upgrade. The fiery kick of ginger perfectly cuts through the dense sweetness of traditional pumpkin pie and sweet potato fillings. It also brings a cozy, nostalgic aroma to your kitchen when paired with festive classics like eggnog cream pie or a rich spiced pecan pie.
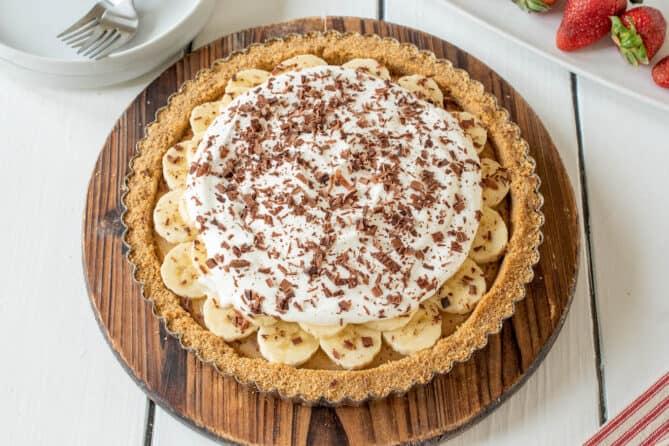
- Banana Cream Pie: If you want a fun twist on a traditional favorite, swap out the standard vanilla wafers or plain graham cracker crust for these spiced crumbs. The warm, spicy snap of the ginger creates an incredible flavor contrast against the cool, velvety custard and fresh slices of a banana cream pie.
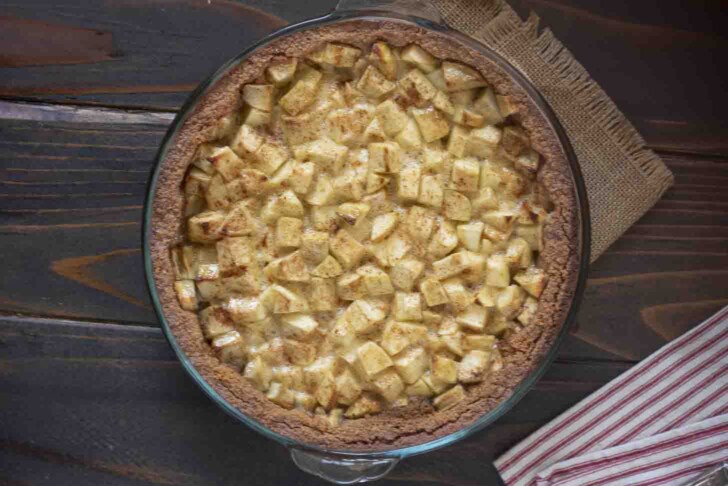
- Baked Apples & Fall Fruits: Ginger and apples are a match made in heaven. Use this gingersnap cookie crust as the base for a baked apple tart, a spiced apple cheesecake, or a rustic caramel apple pie.
- Lemon Curd & Tangy Citrus: I absolutely love pairing this spicy bite with a vibrant lemon curd. The contrast between the rich, zesty lemon and the warm crunch of the cookies is incredible. It also works beautifully with a classic key lime pie.
- Chocolate Desserts: Ginger and rich cacao are highly underrated together. Use this crust for a silky chocolate ganache tart, chocolate chess pie, or a baked chocolate cheesecake.
- Baking Tip for the Holidays: Because you can freeze this unbaked crust for up to 3 months, it is a massive time-saver for stressful holiday meal prep.
How I Use This Crust: 2 Must-Try Pies
The Ultimate Banoffee Pie
You have to try using this crust for my Banoffee Pie. Classic banoffee pie relies on a standard biscuit base, but switching it out for this fiery gingersnap cookie crust is a complete game-changer. The warm, punchy spice of the ginger brilliantly cuts through the deep, buttery sweetness of the toffee (dulce de leche) and fresh banana layers, making every single bite perfectly balanced.
Apple Lemon Curd Pie (recipe coming soon!)
Looking for the ultimate way to showcase this spiced crust? Check out my Apple Lemon Curd Pie! The warm, fiery kick of the gingersnaps perfectly balances the rich sweetness of baked apples and the bright, vibrant tang of fresh lemon curd. It is an incredible flavor combination that takes this simple 2-ingredient crust to a whole new level.
Likely there wasn’t enough melted butter to bind the cookie crumbs together. Or, the mixture wasn’t pressed firmly enough into the pan. Make sure to pack the crust tightly into the bottom and sides.
To prevent a soggy crust, blind-bake it for 8 to 10 minutes before adding your filling. This creates a toasted barrier.
Too much sugar or over-baking causes the sugars in the cookies to melt and harden into a concrete-like texture. Because gingersnaps are already sweet and crisp, stick strictly to the recipe’s baking time.
Pour the crumbs into the pan. Use the flat bottom of a dry measuring cup or a straight-sided glass to pack the crumbs tightly and evenly into the base and up the edges.
No, soft-baked cookies will not work for a crumb crust. You need hard, crunchy, store-bought gingersnaps. This gives you a clean, sandy crumb that absorbs the butter properly and holds its structure.
No, you do not need to add extra sugar. I prefer not to add any as gingersnap cookies are already very sweet on their own. Skipping the added sugar keeps the crust perfectly balanced. It also prevents it from becoming overly sweet or baking up too hard.
Yes! Gluten-free gingersnaps work beautifully. Although, they might require an extra teaspoon or two of melted butter if the crumbs feel dry. To make it vegan, simply use your favorite plant-based butter brand.
2-Ingredient Gingersnap Pie Crust

Video
Ingredients
- 8.5 ounces (230 grams) Crispy Gingersnap/Ginger Nut cookies
- 7 tablespoons (98 grams) Unsalted butter, melted
Instructions
Crush the Cookies:
- With a Food Processor: Add the gingersnaps to a food processor and pulse until they are finely crumbled. With the processor running, drizzle in the melted butter until the crumbs are evenly coated.
- Without a Food Processor: Add the cookies to a large zip-top plastic bag. Press the air out, seal, and crush them with a heavy pan or rolling pin. Transfer the fine crumbs to a mixing bowl, add the melted butter, and stir until well combined.
Press into the Dish:
- Pour the moistened crumbs into a 9-inch (23 cm) glass pie dish. Start by flattening the bottom. Then, using the flat bottom of a small measuring cup or glass, press the crumbs firmly and evenly up the sides of the dish.
Prep Based on your Pie Type:
- For Baked Desserts: Pre-bake the crust for 10 minutes at 350°F (177°C). Allow it to cool completely on a wire rack before adding your filling.
- For Unbaked Desserts: Skip the oven entirely. Place the pressed crust into the refrigerator for 1 hour, or into the freezer for 15 to 20 minutes, to let the butter solidify completely before adding your cold filling.
Storage and Make-ahead Tips:
- To Refrigerate (Up to 3 Days): Tightly wrap your prepared crust in plastic wrap and store it in the fridge.
- To Freeze (Up to 3 Months): Wrap the crust securely in its pan with two layers of plastic wrap, followed by a layer of aluminum foil.
- Baking from Frozen Note: If you used a glass pie dish, let the crust sit on the counter for 15 to 20 minutes to take the chill off before putting it into a hot oven to prevent the glass from shattering.