Easter Chocolate Creme Eggs
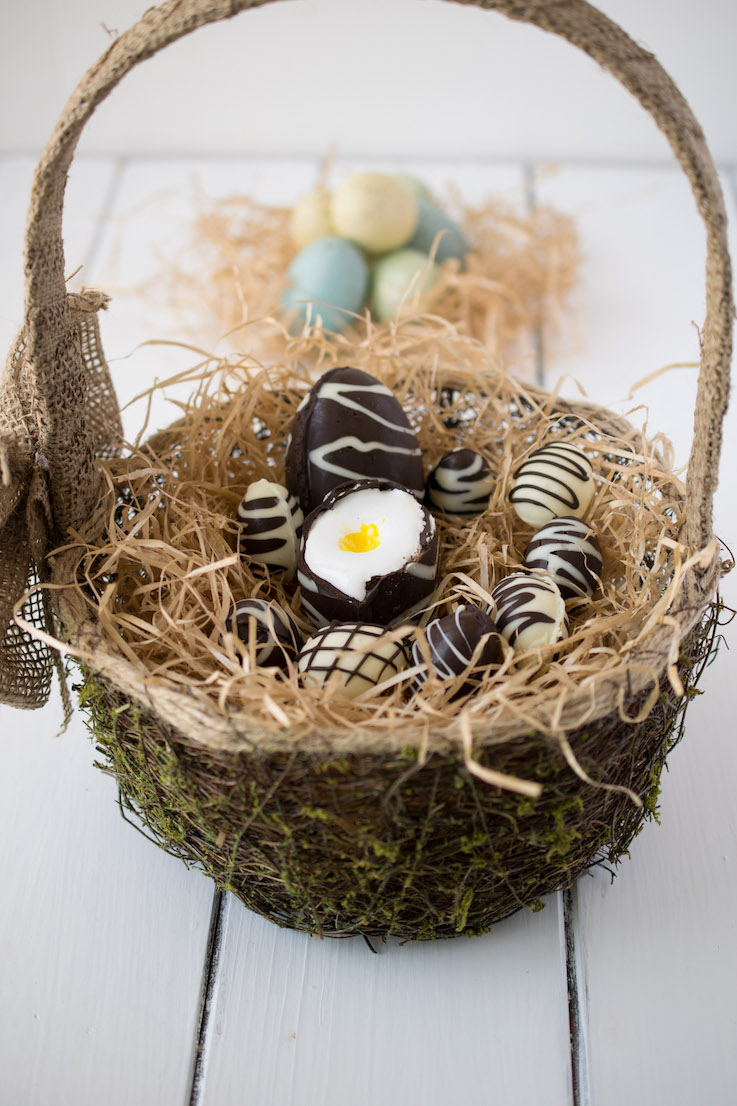
Easter was my favorite holiday growing up (next to Christmas) and my favorite part was the chocolate egg. These Easter chocolate creme eggs take me right back to my childhood.
Chocolate Easter eggs are a huge part of the day for kids in England. All of the candy companies make large empty chocolate shells and fill them with their goodies. It is a tradition to give these eggs as gifts and because I have a large family, Easter Sunday was a day filled with lots chocolate.

These chocolate eggs are easy to make using egg moulds. The egg moulds can be found all over the internet for purchase.

First, I added melted chocolate to microwave-safe bowls. Microwave at 50% power for 1 minute, stir and repeat until melted. I then transferred the chocolate to fine piping bags, this is to create the drizzle design on the outside of the eggs. Freeze for 1 minute to set.

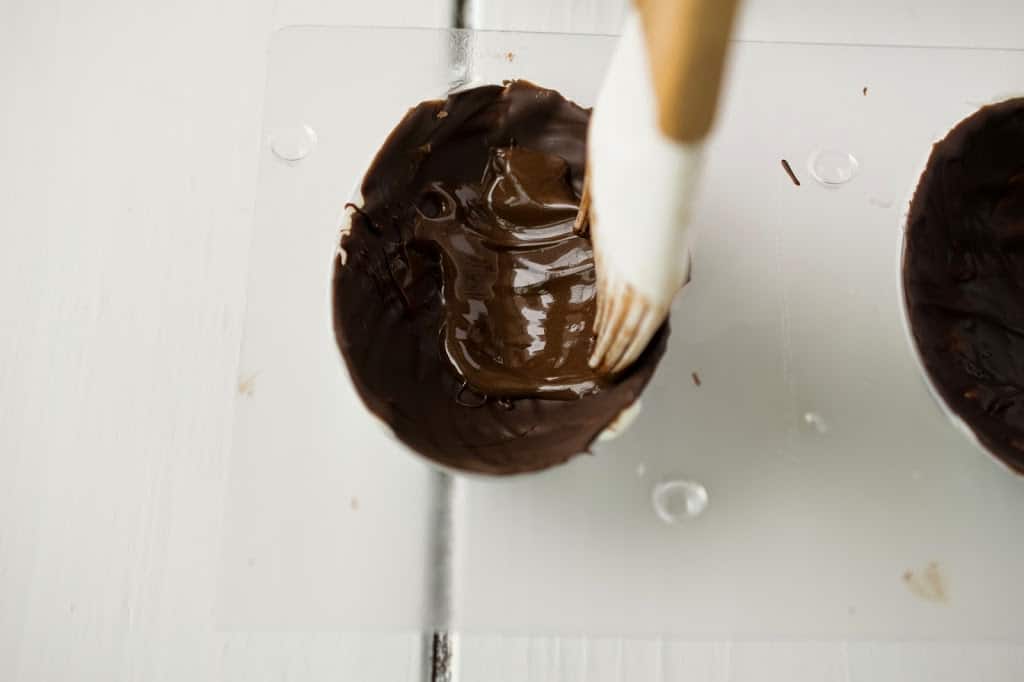
The next step is to create the shell. Melted chocolate is poured into the mould and spread evenly around the inside of the mould using a pastry brush all the way up and slightly over the top (any extra gets trimmed off). Put into the freezer for 1 minute, then repeat to create a thick shell.
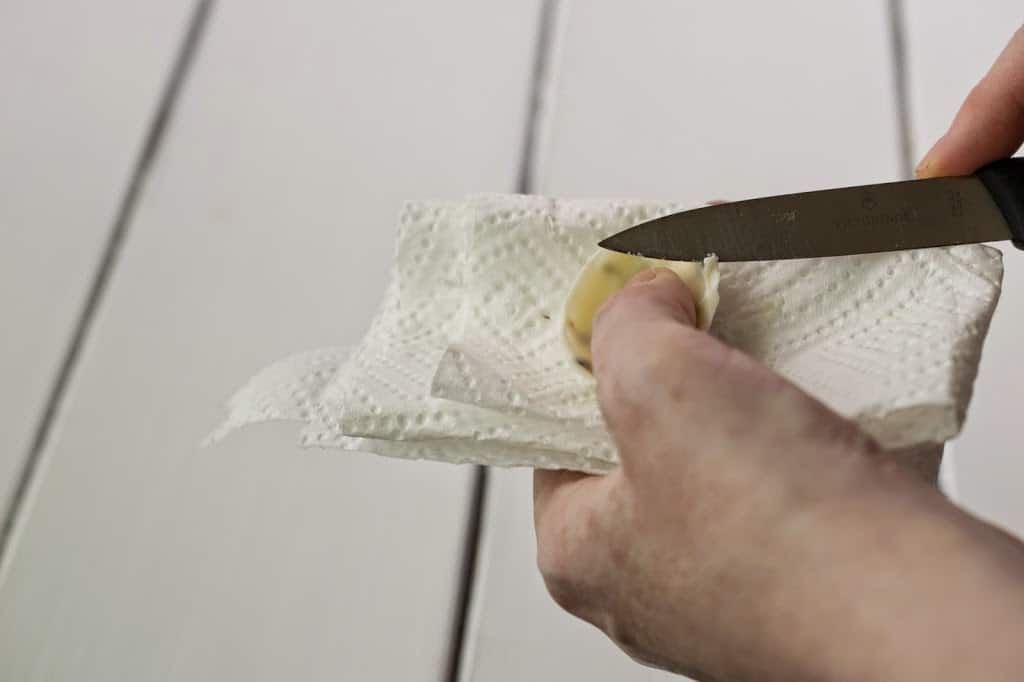
When set they are popped out of the moulds. Try not to handle them too much because the heat from your hands will start to melt the chocolate and make the surface look messy. Using a paper towel to cradle the shell, use a sharp knife to even the edges.
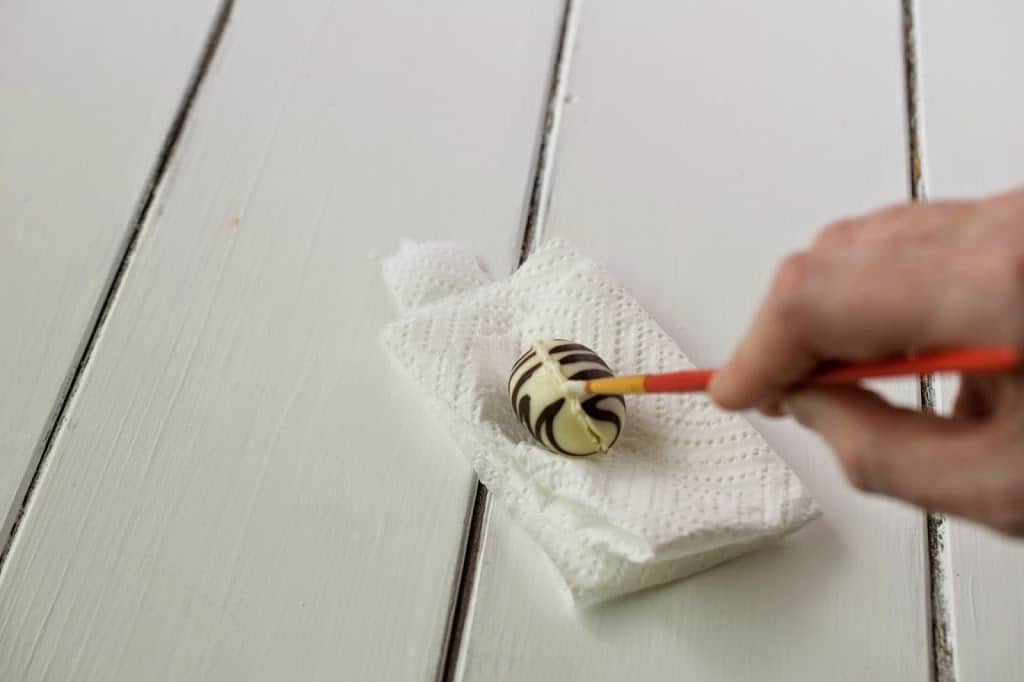
Using the melted chocolate and small paint brush, brush the edges on one on the halves with the melted chocolate, this is the glue that is going to hold them together. Don’t worry if the edges are not perfect, you can use the chocolate and small brush to fill in the gaps.
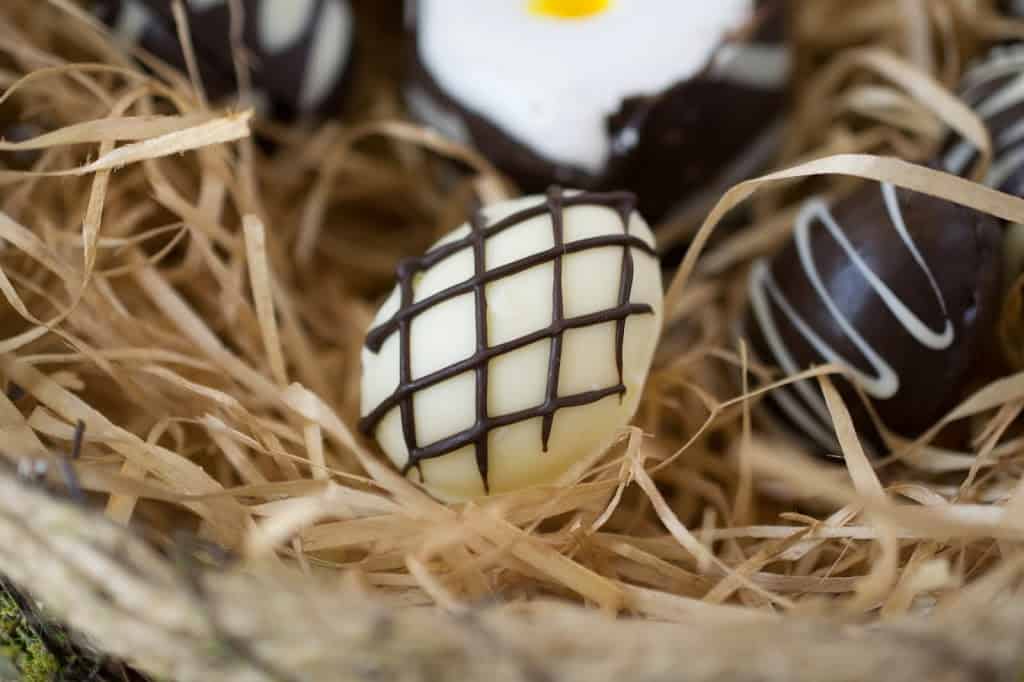
I also made plain dark chocolate and white chocolate shells and piped melted chocolate on the cooled shells for a different, almost 3-D look versus the drizzling the chocolate first into the mould which creates a smooth surface.
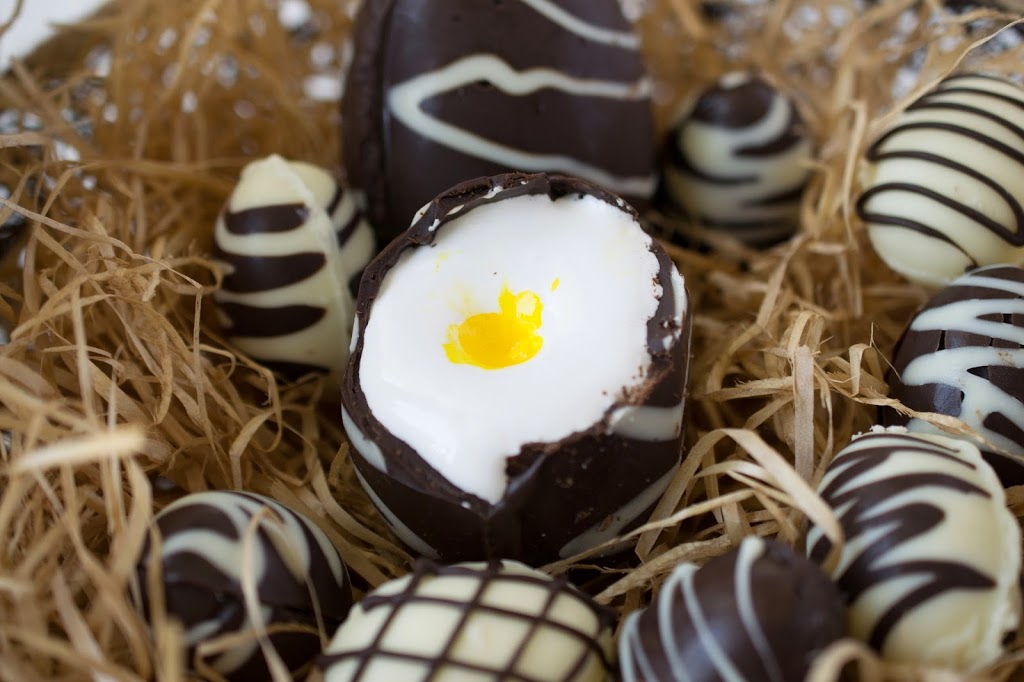
The creme filling for the eggs is store bought marshmallow cream. Using a warm, sharp knife, cut the top of the egg, it doesn’t have to be pretty, jagged looks a little more like a real egg. Add the warmed marshmallow cream to a small piping bag and fill the egg shell. Scoop some of the marshmallow cream into a small bowl and yellow food coloring is added to resemble the color of egg yolk and add a small drop to the center of the ‘egg white’.
Easter Chocolate Creme Eggs
Ingredients
- 6 ounces Dark chocolate
- 6 ounces White chocolate
- 1- 1.5 inch egg mould
- 1 tub marshmallow creme
- Yellow food coloring
Instructions
- Melt the dark and white chocolate in separate containers according to package directions
- Drizzle chocolate into each mould and freeze for 1 minute.
- Add ½ teaspoon of co-ordinating chocolate and use a pastry brush to an even layer.
- Freeze for 1 minute, then repeat this process one more time.
- Remove shells from moulds and neaten the edges with a sharp knife.
- Add melted chocolate to the edge and ‘glue’ 2 half of the shells together.
- Fill in any gaps with melted chocolate and small brush. Freeze for 1 minute to set.
- Add the shells to an empty egg container so they stand upright.
- Warm a small sharp knife under hot water and dry.
- Cut the tops off the egg shells, just like a soft boiled egg.
- Take ⅓ of the marshmallow creme and add to a bowl.
- Mix in yellow food coloring until the yellow matches the color of egg yolk.
- To a microwave-safe bowl add the rest of the marshmallow creme and microwave for 20 seconds to soften.
- Spoon into a small disposable piping bag or ziptop bag. Snip of a corner and pipe the white marshmallow creme into the egg shells with the tops removed. Fill to the top.
- Add a small amount of yellow marshmallow to the center.
These are super fancy! You are quite the chocolatier. You’ll need to make these more than ever now that Cadbury Schwepps has been bought out by some evil conglomerate and no longer uses real cream in their eggs… 😉
Thank you it was hard to get the chocolate not melt in my hands. No real cream? That’s not right.
Your Easter Cream Eggs look delicious! And beautiful too!
See you there 🙂
Beautiful tutorial! You make it look so easy! Happy Easter! Nettie
Thank you Nettie 🙂
What a delicious and beautiful Easter treat!
Thank you Abigail
These look great!
Thank you Jennifer
This is a very smart idea. I, too, loved Easter growing up. The Easter egg hunt was my favorite. If I had to look for these eggs, I would have found them and eaten them right there. This is a lovely recipe and your pics are amazing.
These are adorable! So much nicer than the bought ones!
Thank you Sarah, I agree.
Perfect for the holidays and such fun.
Dear Janette, you did such a wonderful job with these…they are perfect!! I have always loved Cadbury eggs but these are just so much better. Pinning for later dear. xo, Catherine
Wow! Janette these are awesome! I ate these store-bought ones as a kid, but haven’t had them in years! I can only imagine that yours taste WAY better then those! I’m so impressed with this.
These homemade creme eggs are just fantastic! What a great recipe. I’m so excited to try these as Cadbury has changed their chocolate egg recipe this year for cheaper production and it’s just not the same!
These are just gorgeous! I never would have attempted anything like this without your tutorial! Pinning and sharing!!
These chocolate eggs look so beautiful! Great job Janette! I’ve always thought it requires a lot of skill to make chocolate eggs, but thanks to your pictures, I’m not so scared any more! Pinned 🙂
How cute are these, absolutely love them!!
Thank you so much Tara
Janette this is so beautiful! And you made this look super simple!!!
WOW! Janette, these eggs are SO beautiful – you ROCK! You did such a wonderful job creating, demonstrating, styling, and photographing these little gems. Fabulous post!
What fantastic photographs! Great tutorial of how to do these.
Thank you Patty