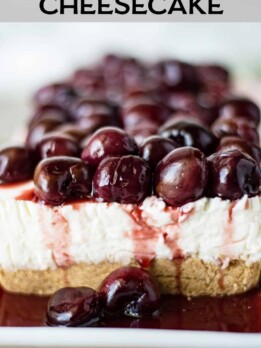
No Bake Cherry Lemon Cheesecake
Are you craving a perfect summer dessert that’s bursting with bright, citrusy flavors and studded with juicy cherries? Look no further than my No-Bake Cherry Lemon Cheesecake. With its creamy, tangy filling and a fresh fruit topping you’ll find that this is the absolute best easy no-bake cheesecake recipe to celebrate cherry season.
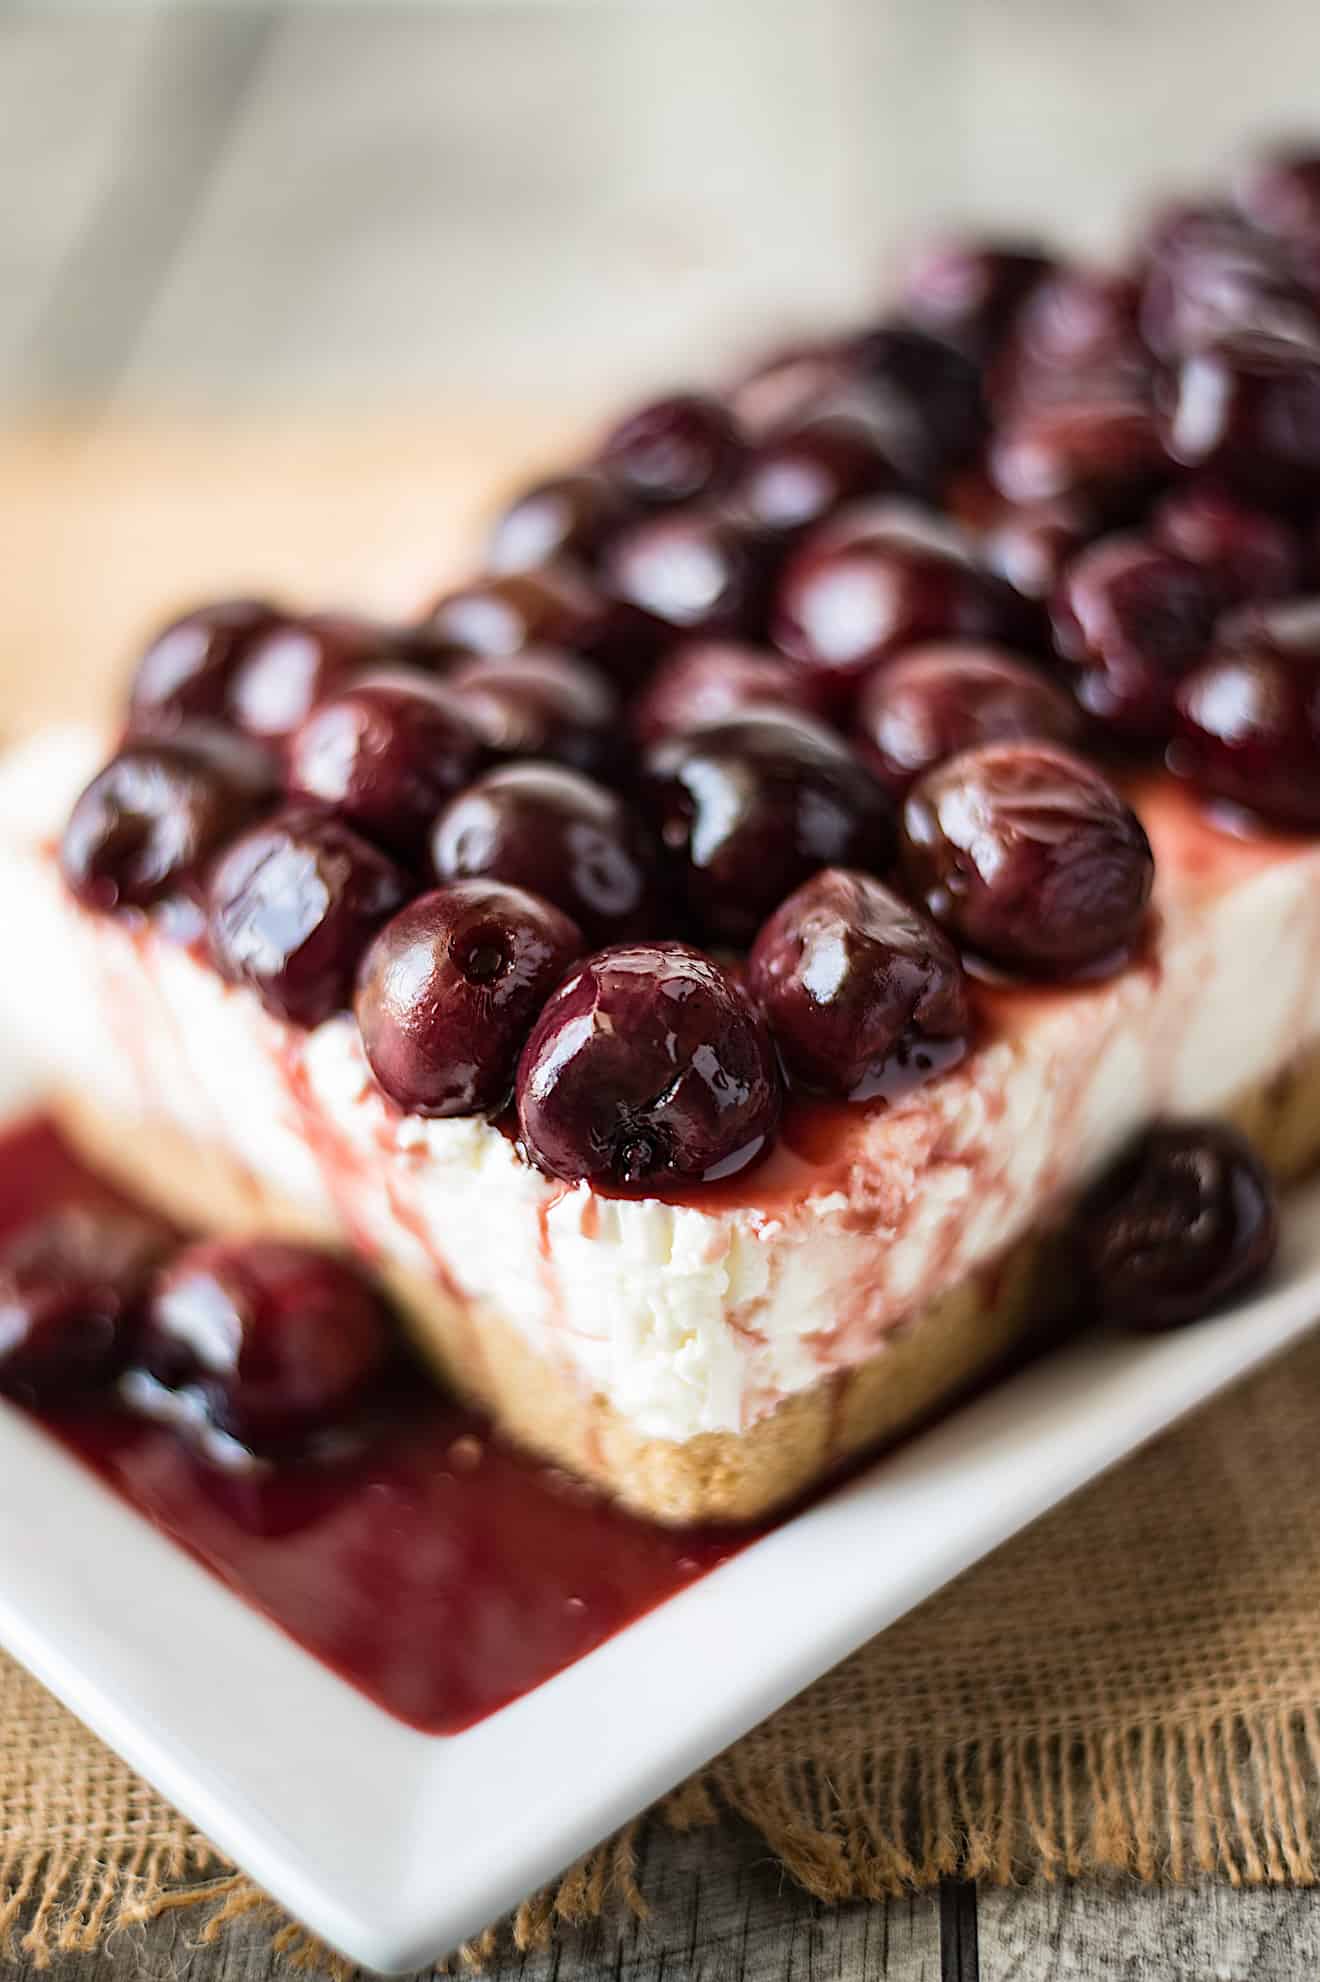
Table of Contents
Why You’ll Love this Dessert
Let’s face it – no one wants to turn on the oven during the warmer months. That’s why I’m taking a classic dessert and making it even easier. It is the ultimate make-ahead treat to keep cooling in the fridge until you’re ready for a refreshing, sweet reward. With just a few simple ingredients, there is really no reason not to make this tonight. Just be sure to serve it chilled straight from the refrigerator so it keeps its beautiful shape.
The Perfect Graham Cracker Crust
There’s nothing I love more in a dessert than a crisp, buttery crust made from Graham crackers (which are just like digestive biscuits for my U.K. friends). It’s easily my go-to base over standard pastry, appearing in everything from my Summer Mango Pie to a classic English Banoffee Pie.

Making the Cream Cheese Filling
To keep things simple and completely oven-free, I skipped the eggs usually found in baked cheesecakes and using a touch of gelatin to set the filling instead. The magical combination of sweetened condensed milk, vanilla, and fresh lemon zest creates a rich, velvety texture that perfectly cuts through the sweetness and complements the fruit.
The best part of this recipe is sinking your spoon through the velvety filling and hitting that perfect crumbly base. It looks incredibly fancy, making it just as wonderful for a casual family gathering as it is for a special occasion.

Let’s Talk About the Fresh Cherry Topping
Since it’s prime cherry season, I love to toss fresh, pitted cherries into a pan with a little sugar and let them simmer down. They release their natural juices to create a glossy, syrupy sauce that pairs beautifully with the lemon base.
Pro tip: any leftovers are fantastic spooned over vanilla ice cream.
If you happen to be making this out of season, don’t worry. Frozen pitted cherries work beautifully here – just skip the extra tablespoon of water in the recipe, as frozen fruit naturally releases more liquid as it thaws.
Essential Equipment
While a food processor makes quick work of turning the crackers into crumbs, you can easily crush them by hand in a zip-top bag and mix in the melted butter using a bowl. As for the filling, a hand mixer or stand mixer will definitely save your arms some time, but a sturdy whisk and a little elbow grease will get the job done too.
Choosing the Best Baking Dish
I love using a standard (9 x 5-inch/23 x 13 cm) bread loaf pan for this recipe. Whether it’s glass or metal, the rectangular shape makes it incredibly easy to slice into clean, beautiful portions. However, if you don’t have one on hand, a round springform pan or a square baking dish will work just as well.

Tips for Success
Cream cheese: Make sure your cream cheese is truly at room temperature before mixing. If it’s too cold, it will instantly shock the warm gelatin, creating tiny, rubbery lumps instead of a silk-smooth filling.
For Clean Slices: If you are using a loaf pan or square baking dish, be sure to line it with parchment paper or plastic wrap, leaving a little overhang on the sides. This allows you to easily lift the entire cheesecake out of the pan before slicing!
Storing Tips
If you have any slices left over, simply place them in an airtight container and keep them in the fridge. The cheesecake will stay fresh, firm, and delicious for up to 5 days.

No Bake Cherry Lemon Cheesecake
Video
Ingredients
For the crust:
- 8 ounces (226 grams) Graham crackers or British digestive biscuits
- 5 tablespoons unsalted butter, melted
For the filling:
- 1 tablespoon unflavored powdered gelatin
- 24 ounces (678 grams) cream cheese, softened at room temperature
- 1 ¾ cups (397 grams) sweetened condensed milk
- 1 teaspoon vanilla extract
- Zest of 2 lemons
For the cherry topping:
- ¼ cup (50 grams) granulated sugar
- 14 ounces (400 grams) dark cherries, pitted
Instructions
- Line a 10 x 4 inch (25.5 x 10 cm) loaf pan/bread tin with plastic wrap allowing to drape over the sides.
Make the crust:
- Add crackers or biscuits to a food processor and pulse until they turn to crumbs. With the processor running, drizzle in the melted butter until combined. Pour the crumbs into the bottom of the loaf pan and press firmly in an even layer. Refrigerate for 30 minutes (or freeze for 15).
Make the Filling:
- To a small bowl, add the cold water. Sprinkle the gelatin over the top and leave to bloom for 5 minutes (it will look thick and lumpy, this is ok).
- Whisk in the hot water to the gelatin until completely dissolved and smooth.
- In a large bowl or stand mixer, beat the cream cheese, condensed milk, vanilla, and lemon zest until silk-smooth. Slowly drizzle in the gelatin mixture while beating until fully incorporated.
- Pour the cream cheese filling over the crust, smoothing the top with a spatula. Cover tightly with the plastic overhang and refrigerate for 2 to 3 hours until completely firm.
Make the Cherry Topping:
- Add the cherries, sugar, and a tablespoon of water to a saucepan over low heat. Cook for 4 to 5 minutes, stirring occasionally, as the cherries release their juices and create a thick, syrupy sauce. Transfer to a bowl and cool completely.
- Remove the cheesecake from the fridge and use the plastic wrap handles to gently lift out of the pan. Place it onto a serving platter, discard the plastic, and spoon the cooled cherry topping over the top just before slicing.
I just make this and it is killing me to wait for it to set, I have 30 minutes to go. I can’t wait to taste it 🙂
I’m so happy for you. I wish I made one today, enjoy!
I went made it and I followed the directions on the gelatin package and used about a cup so I hope it sets up! Just took my cherries off the stove! If it doesn’t set up I will still eat it and do over later! Lol
Great, let me know how it turned out.
Hi Janette! Somehow changing things up a bit by making them in a different pan etc. can make things taste even better – how is that?!
LOVE the idea of this. It really reminds me of something my mum used to make when I was younger.
Bookmarking!
This cheesecake looks amazing! Love cherries!